Buy vegetable dehydrator or pepper grinders – US
Buy vegetable dehydrator or pepper grinders – Canada
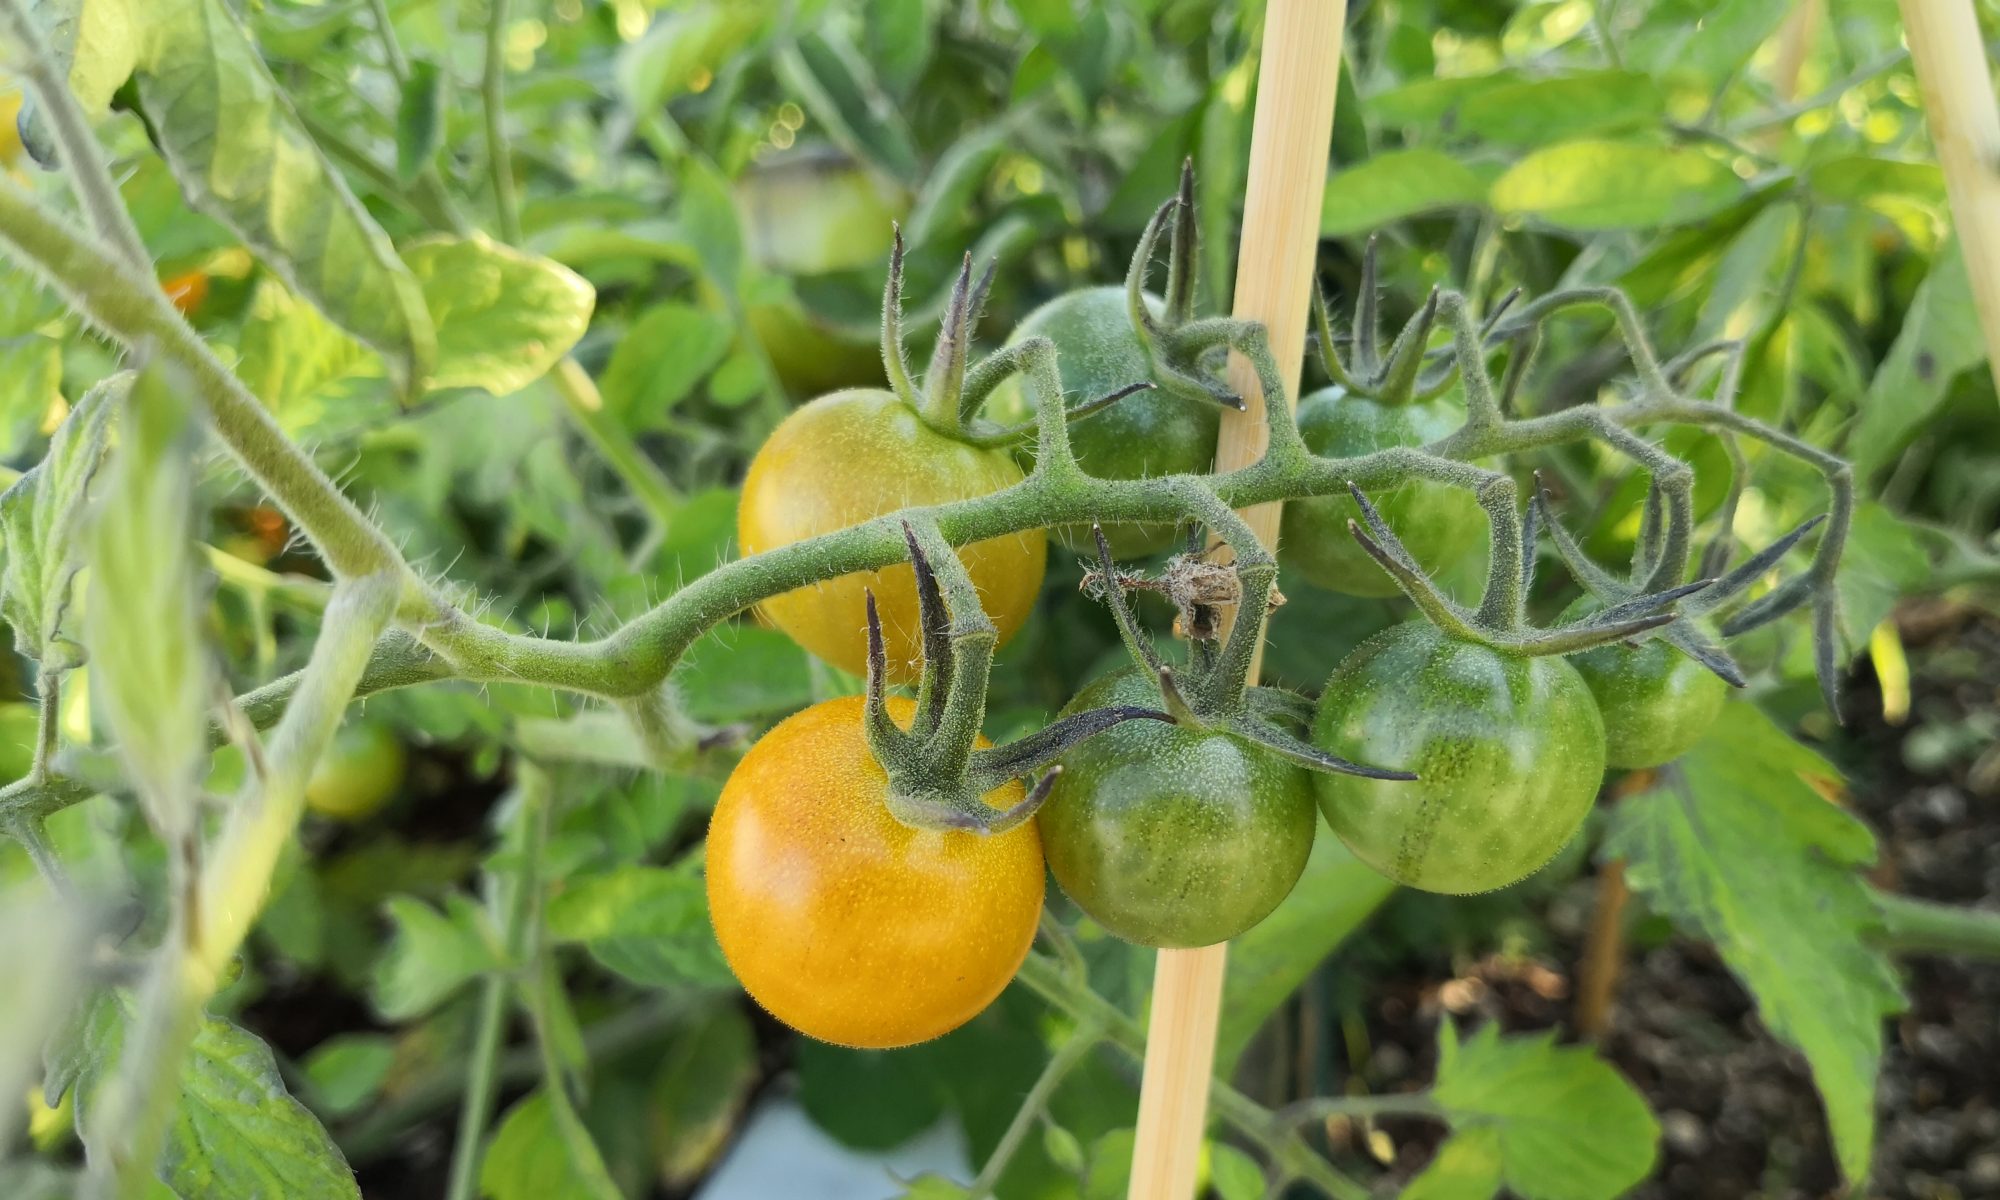
What to do with hundreds of super-hot peppers? Last year I made some pepper sauce that seemed to win folks over. This year we’ll try that again, and I’ll provide details in another post. In addition to sauce, I’ve decided to give pepper powder a shot.
Step 1. Get a dehydrator. I went for one from Canadian Tire because a) they’re nearby and b) I found myself with a relatively unbooked weekend right around the corner and so didn’t want to wait for something to be shipped. The specific device I purchased was the Hamilton Beach Digital Food Dehydrator. You can get it cheaper online, and there were cheaper options at Canadian Tire, though not in stock the day that I went. It’s a pretty simple device. Five trays and a lid, along with two finer mesh sheets and a fruit leather sheet which I just set aside for now. The dehydrator basically has temperature (I used the default 130 degrees) and time settings along with a Start button. No problem.
Step 2. Prepare the peppers. I’d already washed my peppers so I removed the stems, split them in half and removed the core and most of the seeds (but not all). I laid them out with some space between and then stacked the trays and added the lid. What I learned after the first batch:
Lesson 1 is that there’s no need to leave space between the peppers. They shrink a LOT, so future batches I had them right up against one another.
Lesson 2 is that the peppers will dry much faster if do more than half them. In later batches I halved the peppers first, then cut several additional slits along the fruit, especially where the peppers narrow to the tip. This allowed the fruit to flare out a bit and I think it allowed them to dry faster.
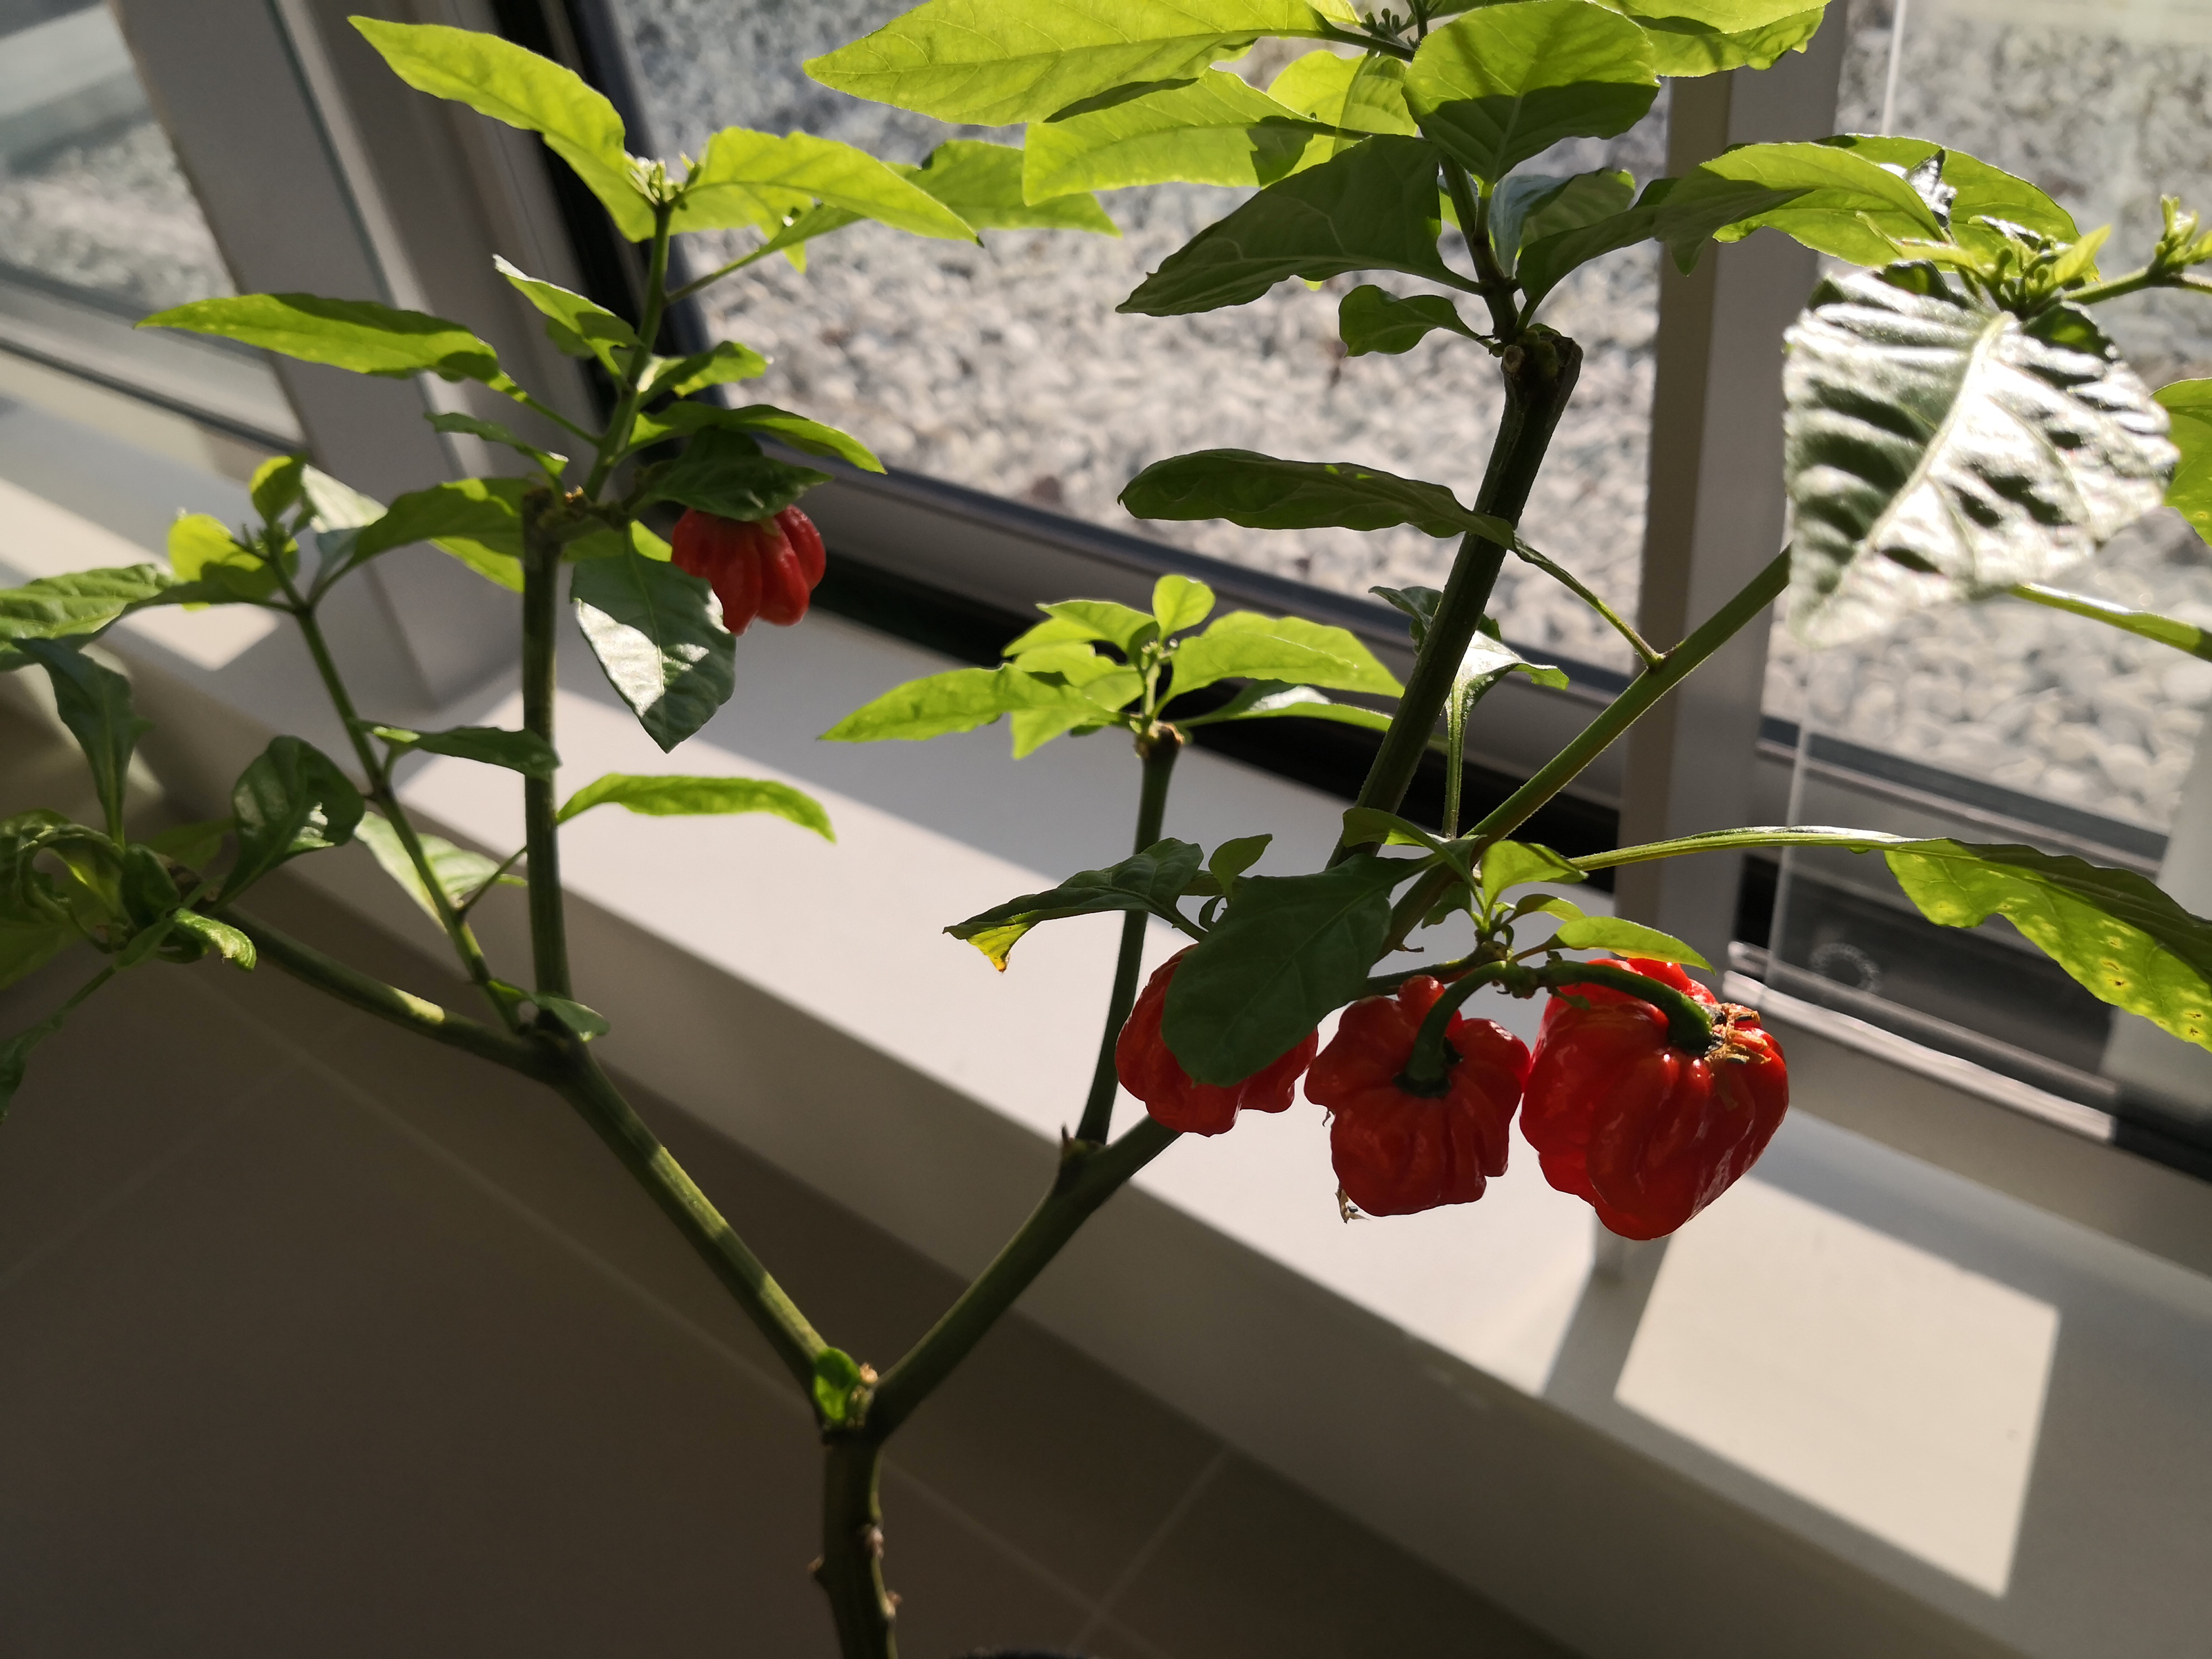
Lesson 3 is that some peppers dry much faster than others. Carolina reapers and bhut jolokia have thin walls and dried out super fast. My habaneros were more like bell peppers with thicker walls and much more moisture. They took a lot longer to dry.
Step 3. Dehydrate your peppers outside. I plugged mine in out on the balcony and let it run. After about six hours I poked my head out and the fumes were still very strong. I can’t imaging what dehydrating these peppers inside would do to your home, let alone your eyes and throat. Find a covered location away from pests and plan to use that.
Step 4. Wait. Mine took a couple days, running at 12 hours a day minimum. Even that wasn’t enough for the larger habaneros which I put in with the next batch.
Step 5. Crush / grind the dried peppers. I wasn’t well prepared at the time my peppers were dried, and didn’t want to wait a day for stores to open so I grabbed a mortar and pestle, along with my trusty powder-free nitrile gloves (Buy in US or Canada) and went to it. I recommend you don’t follow my lead. While this did reduce the volume of most pieces, there was no consistency and it did nothing for the seeds. Additionally it messed up my mortar and pestle for any future grinding that shouldn’t involve spice. What I found that worked well for my needs was a spice mill microplane. While it provides quite a wrist workout, it mills the pepper flakes and seeds to a consistently fine powder. My only concern would be for someone doing a LOT of milling in which case I suggest you find something that takes the same approach, but does so electrically.
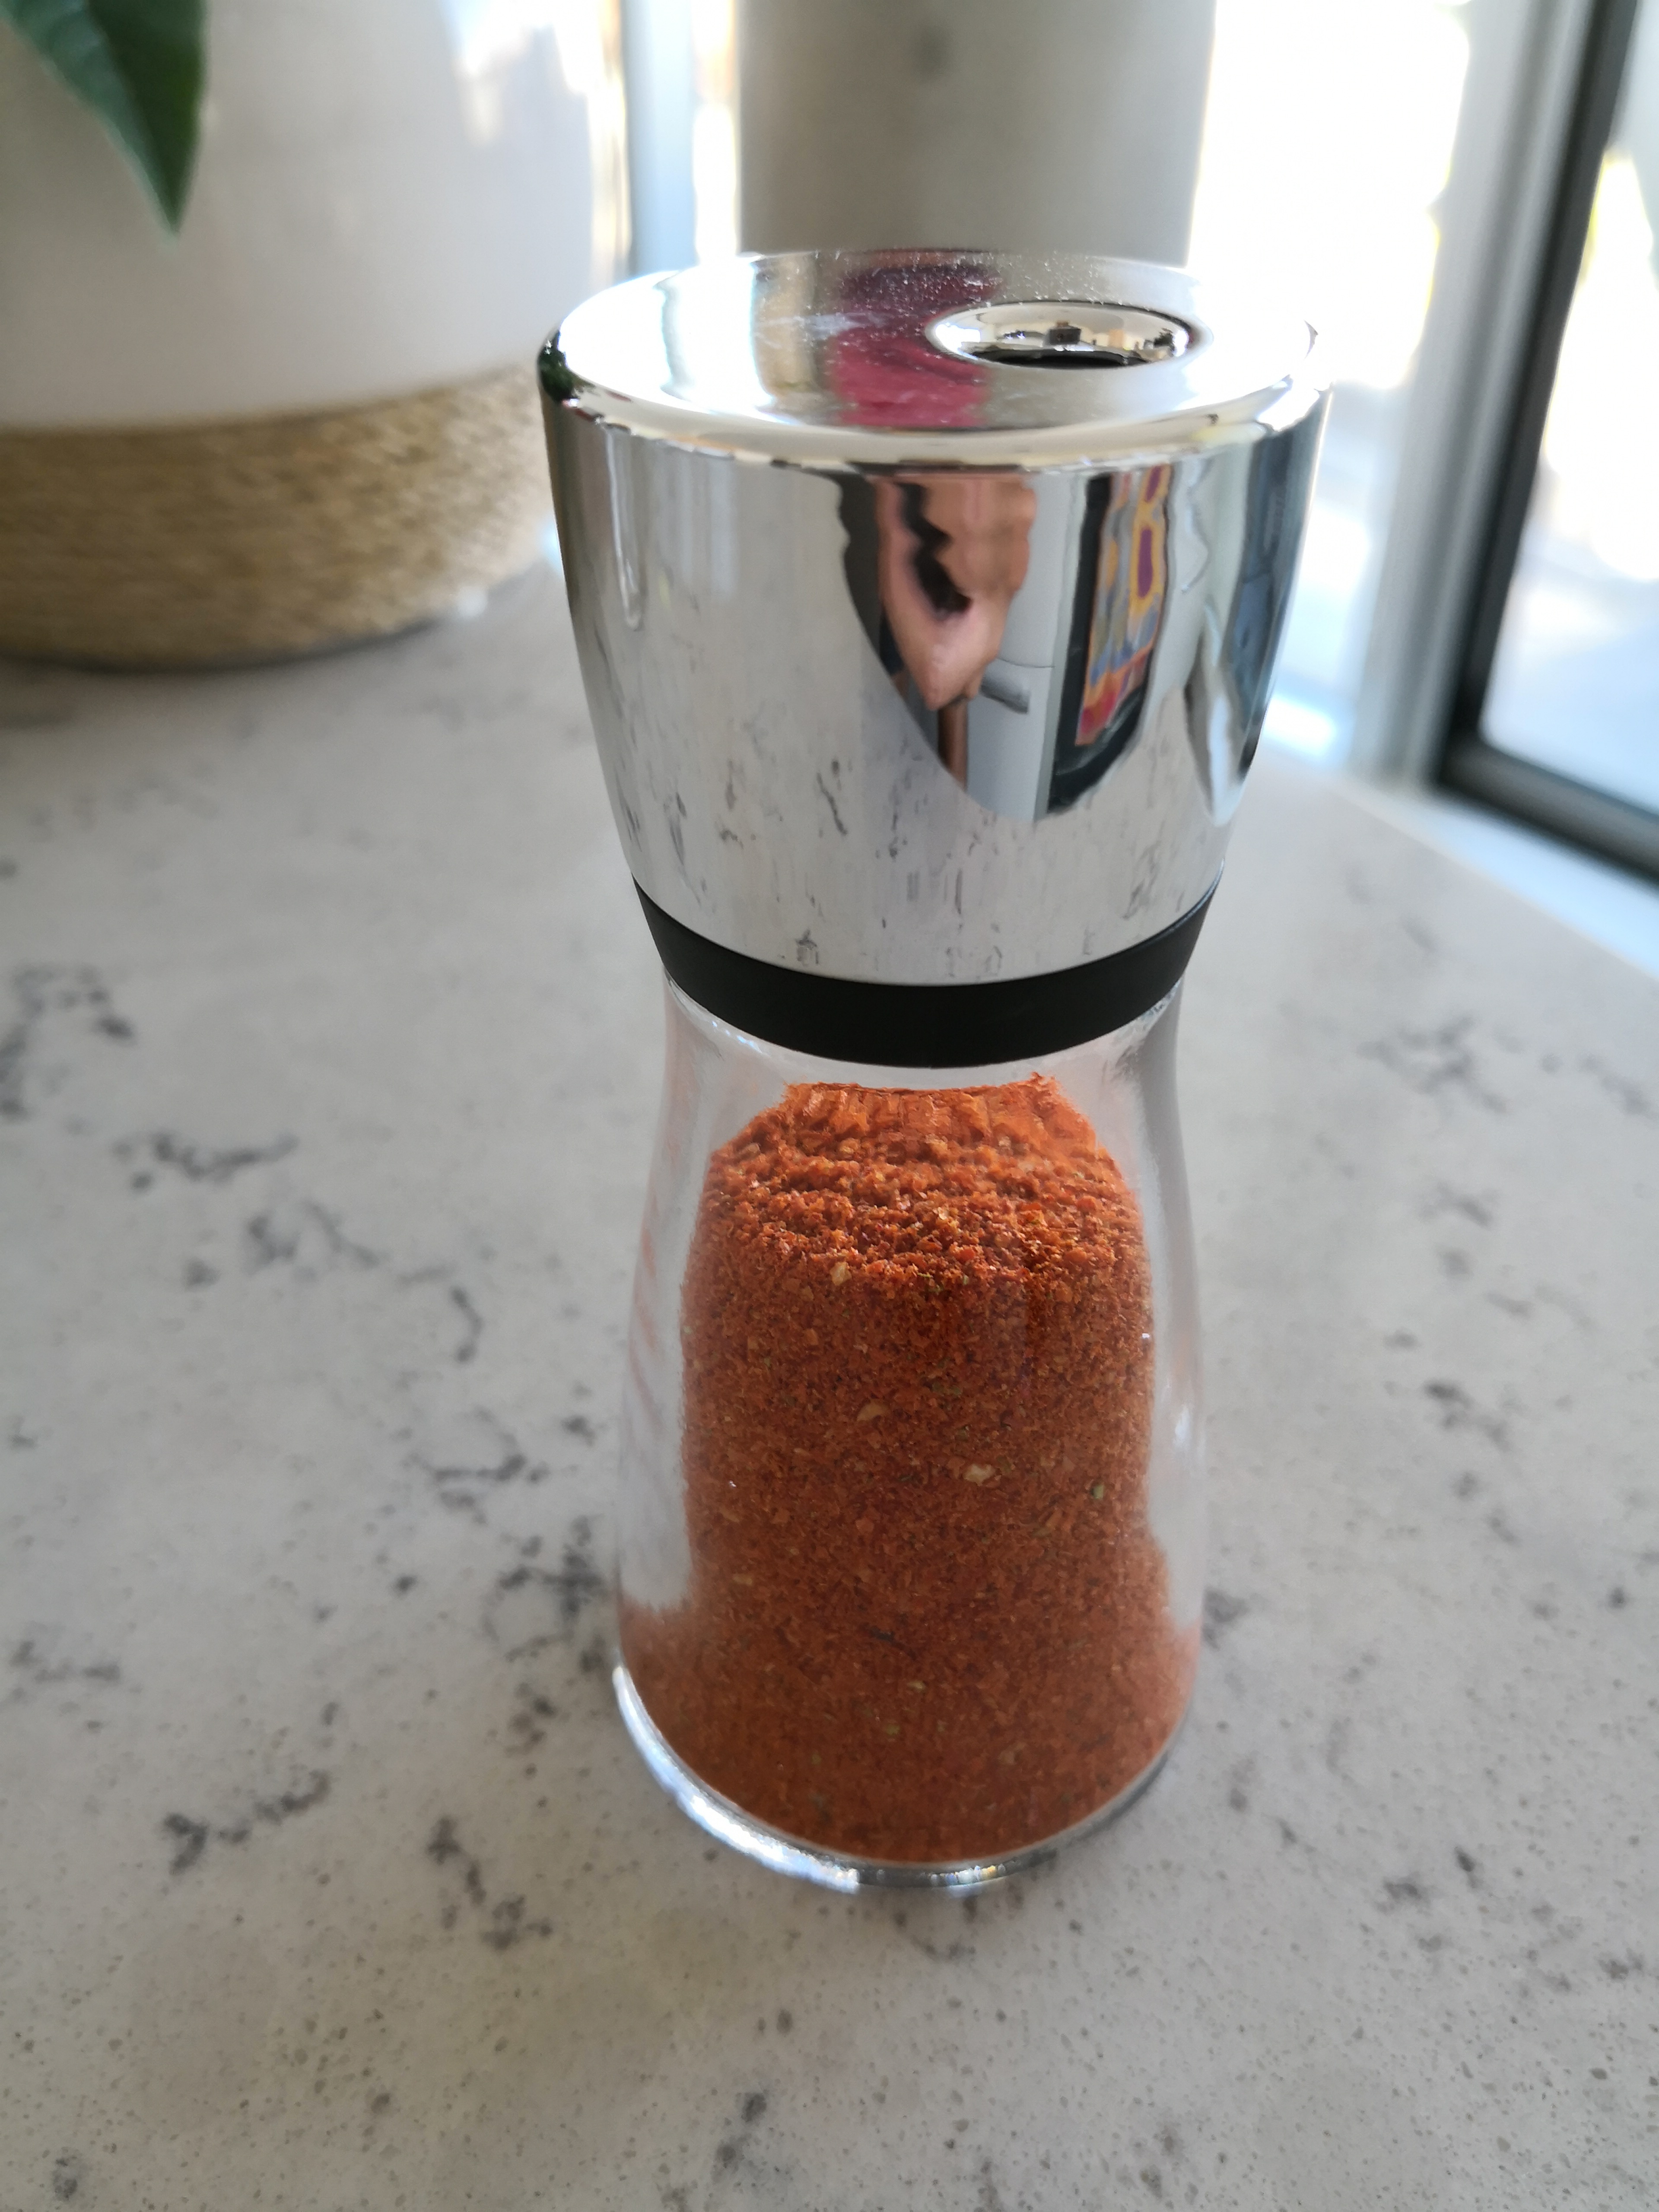
Step 6. Pack it up. I found some small spice bottles that allow dosing by adjusting the top. This powder is HOT, so precision will be appreciated. I originally was going to use small standard jars, but there’s no way to deliver appropriately small doses of the spice without having to use a spoon.
Anyway, that’s my initial experience. I’m sure there are better approaches and I’m all ears to hear them, but what I’ve described above has worked for 2018.
Buy vegetable dehydrator or pepper grinders – US
Buy vegetable dehydrator or pepper grinders – Canada