Do It Yourself Mason and Leafcutter Bee Houses. DIY Bee Houses!

Do it yourself mason bee homes

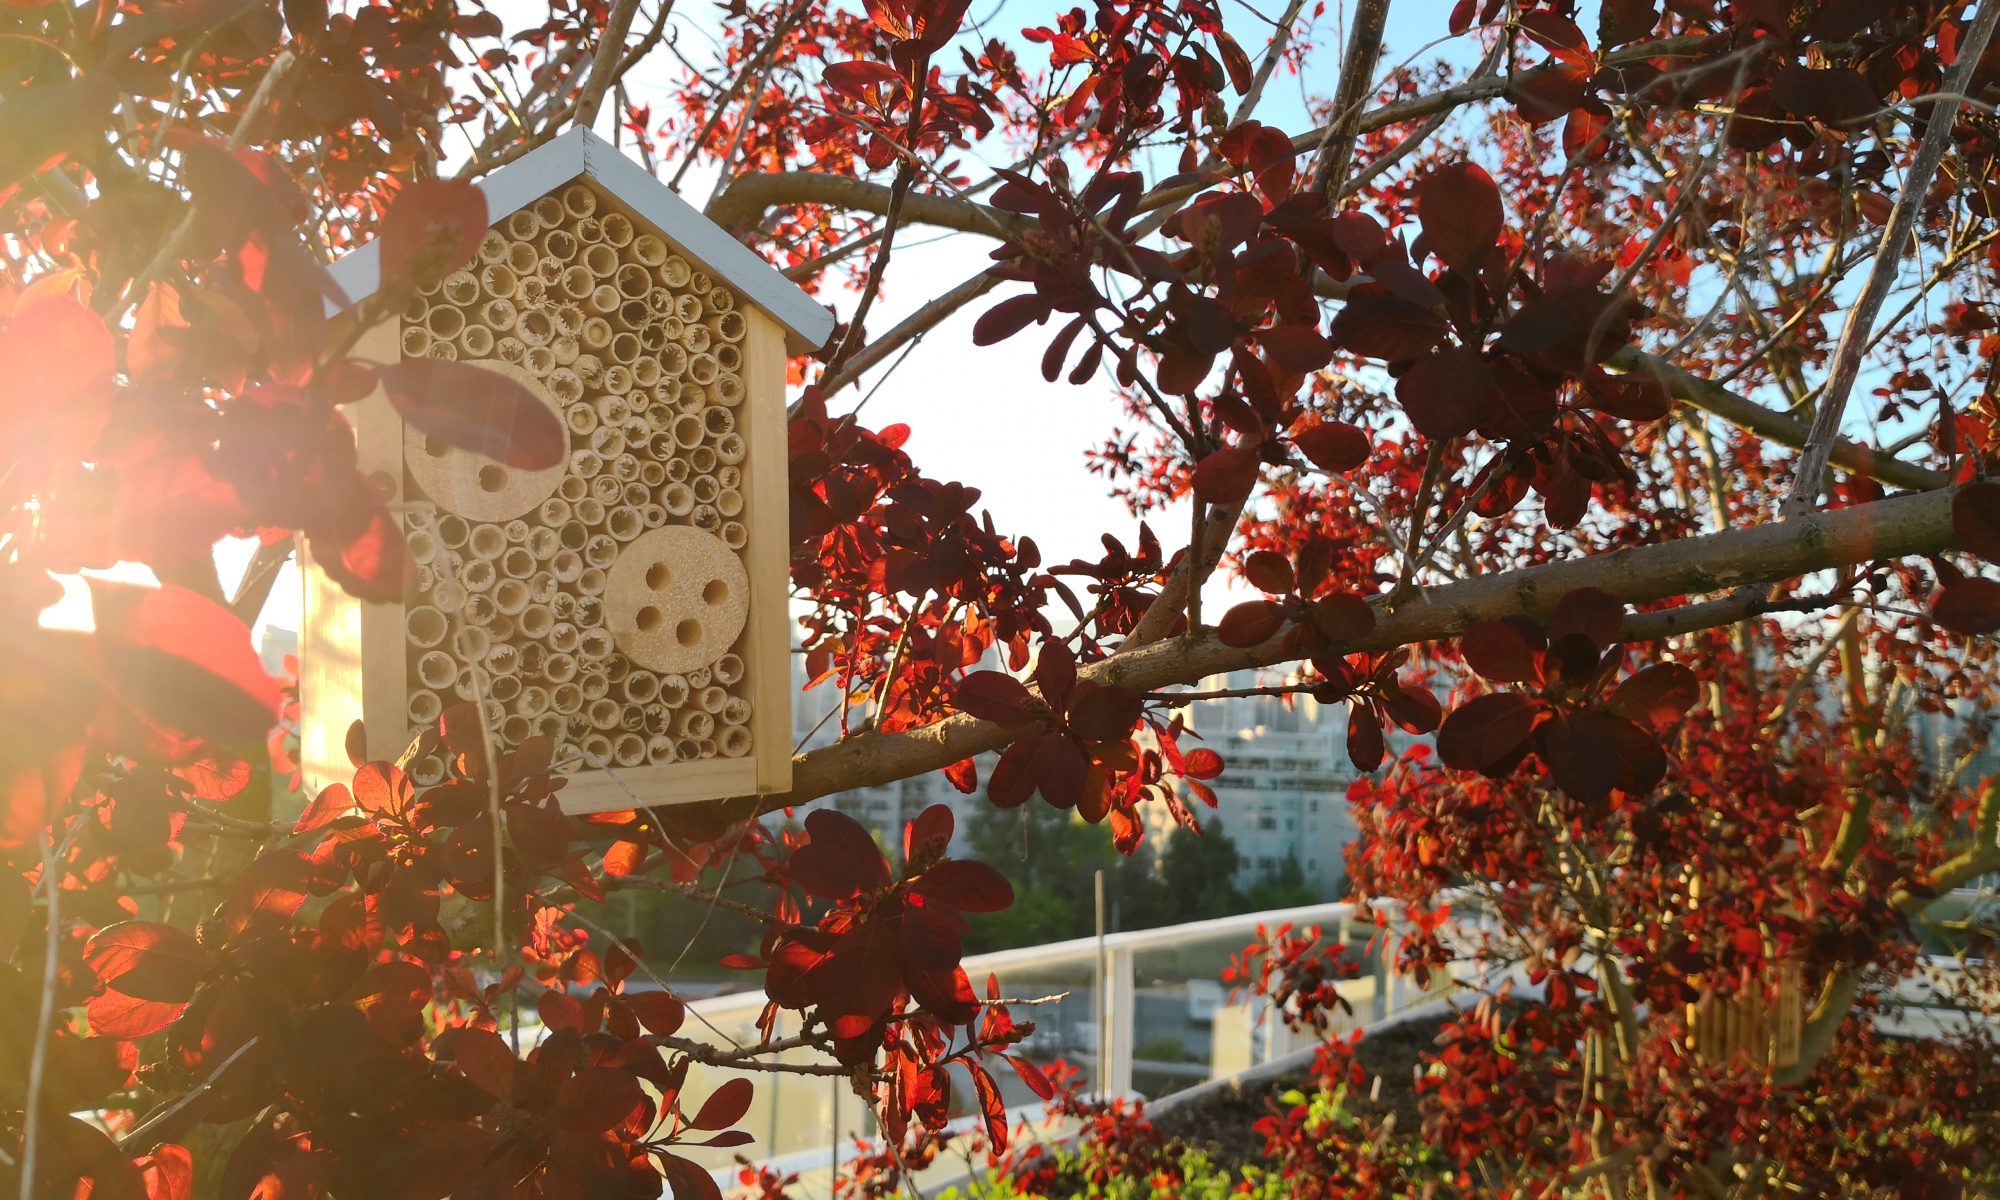
The following outlines my attempts to create a few low budget mason and leafcutter bee houses to spread around the property. Houses I won’t be overly concerned about should weather or other factors damage them during the hear. They are NOT pretty, so if you’re looking for mason bee houses to improve the appearance of your garden consider one of the following (but remember to take them in over winter else you’ll be buying again next year.

Mason bee houses shipped from Canada

Mason bee houses shipped from the US

My mason bee houses are in bad shape. Really bad shape. Being the fool that I am I forgot to bring them in and left them to the elements on the roof through a very wet, very cold winter. Rather than spend for new, nicely designed houses I’ve decided to get scrappy and go the DIY route. 

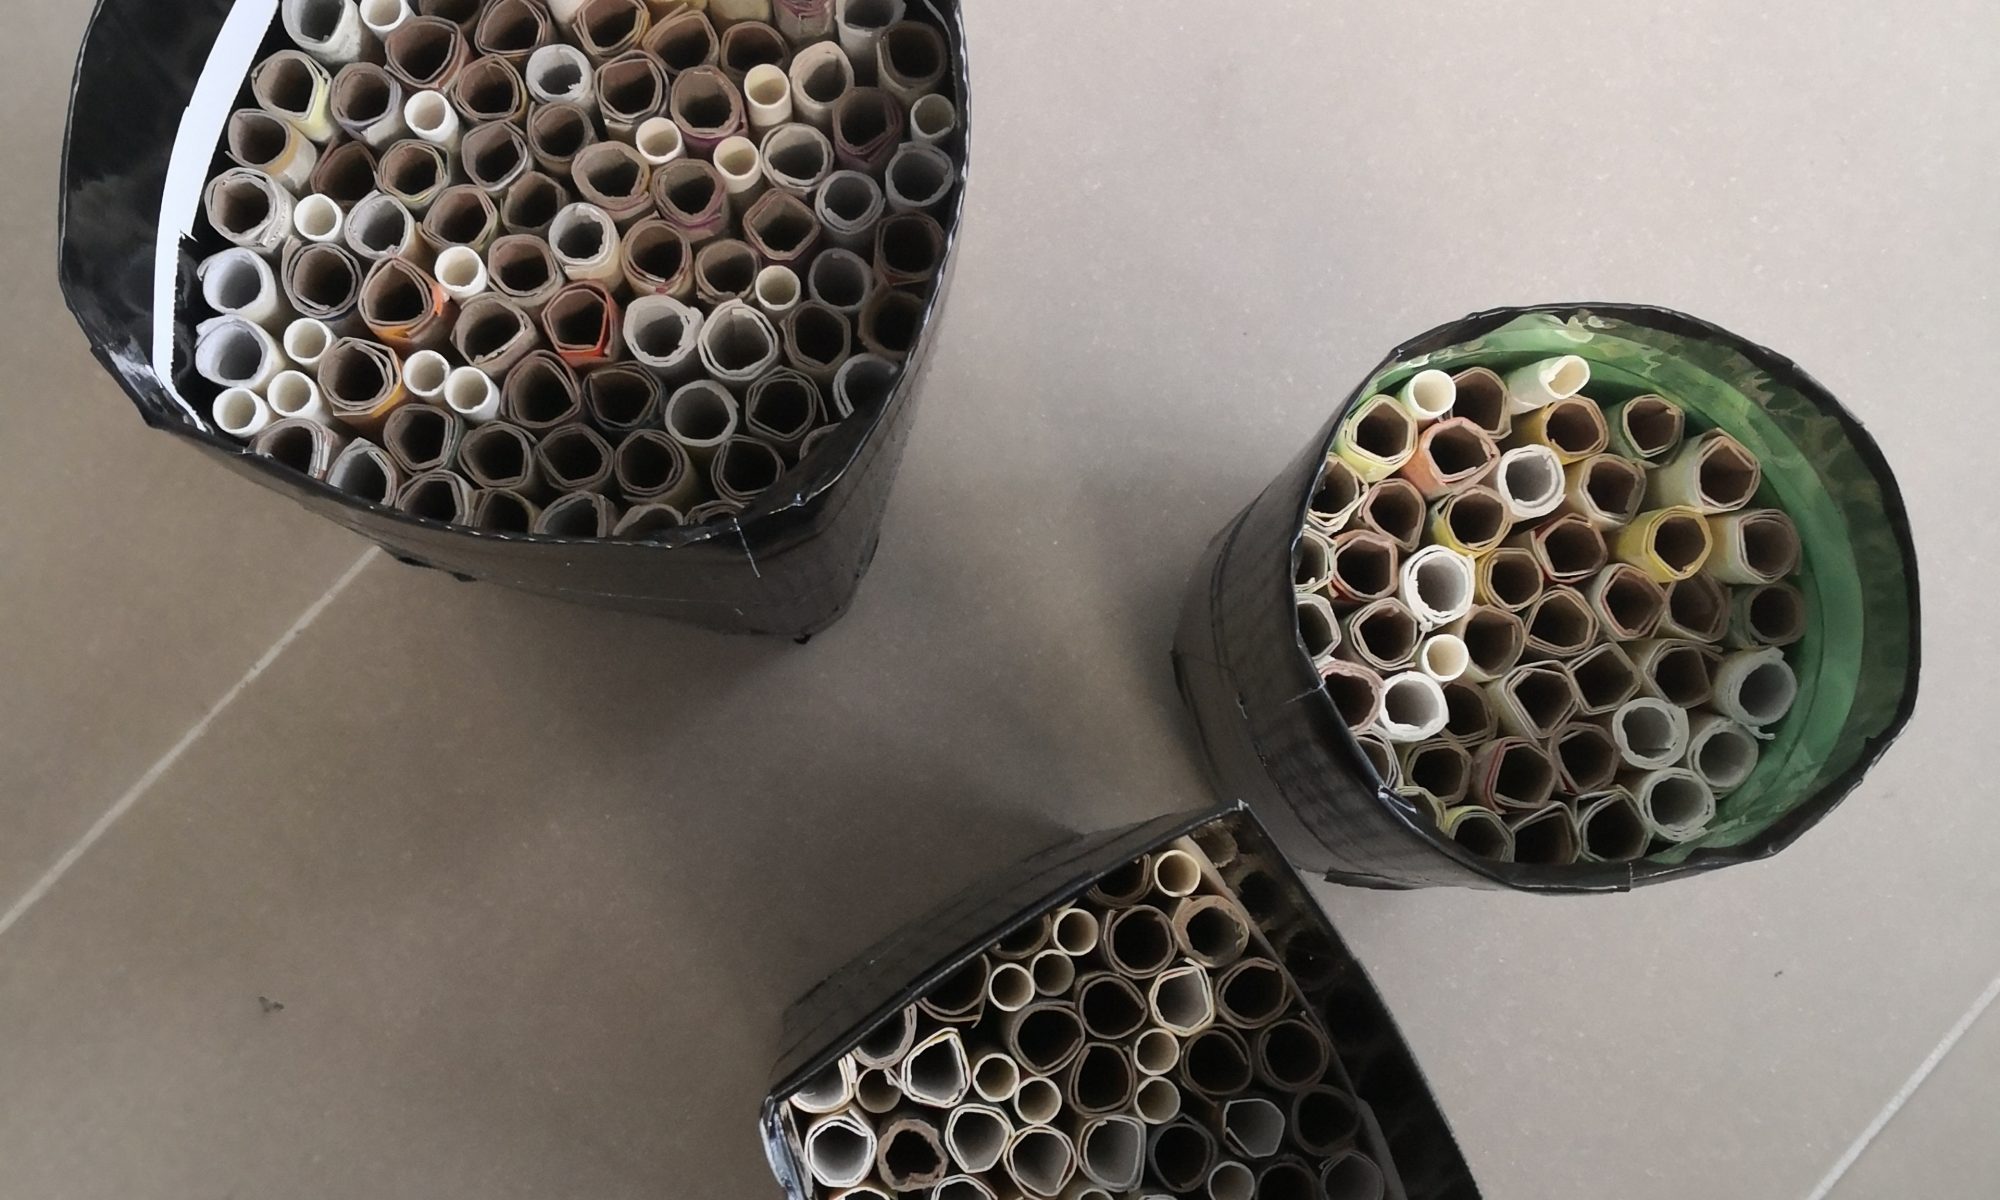
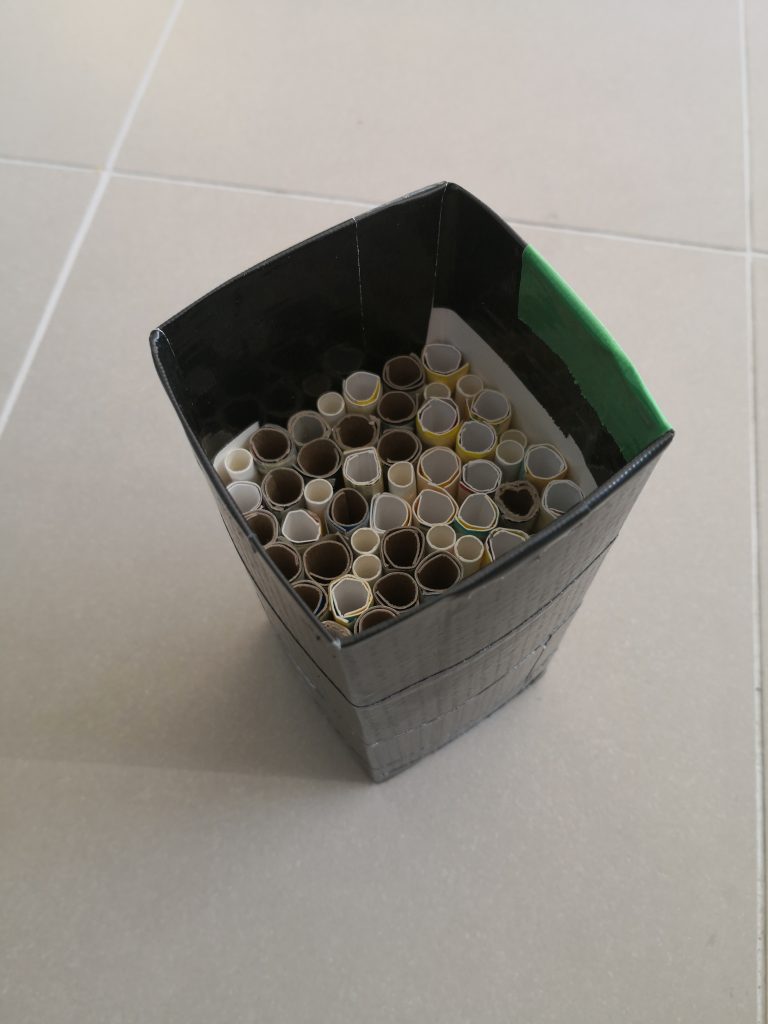
What do I have so far? A whole lot of ugly, but ugly that just might work if placed in the right locations. I wanted something light, that wouldn’t break if dropped, and that required as little work as possible. I used cardboard from the recycle bin (toilet paper rolls, cereal and cracker boxes etc) to make the mason bee tubes, rolling the cardboard around a pencil and taping them once rolled using masking tape. Pay attention to which direction the cardboard ‘wants’ to roll and it will make your life much easier. Last year I used dollar store bamboo and did a pass with a cordless drill to open up any tubes that weren’t fully accessible. These worked, but opening the bamboo was a real challenge. I’m hoping the cardboard will be much easier to open in the fall in order to recover and clean the cocoons.

Also, I’m considering placing some kind of mesh at the entrance to prevent larger animals (birds, squirrels etc) from ruining things, and giving the bees some measure of protection while they work. 

The three ‘designs’ I’ve tried so far start with the milk carton mason bee house:

  • Milk carton. 1L size, to cut off.
  • Duct tape
  • Cardboard for rolling (toilet paper tubes, cereal boxes, etc)
  • Paper straws
  • Masking tape

I used the duct tape to ‘waterproof’ the paper milk carton, including about 2 inches inside the lip of the carton to both protect the exposed cardboard from the initial cut, and to provide some texture for the tubes to catch against. I used a blend of tubes (different cardboard sources and slightly different lengths) an also included a few smaller, paper straw tubes in case other bee types show up. All tubes were pushed against the back of the carton, and I kept adding until I could add no more.

Milk carton mason bee house
Milk carton mason bee house version 1


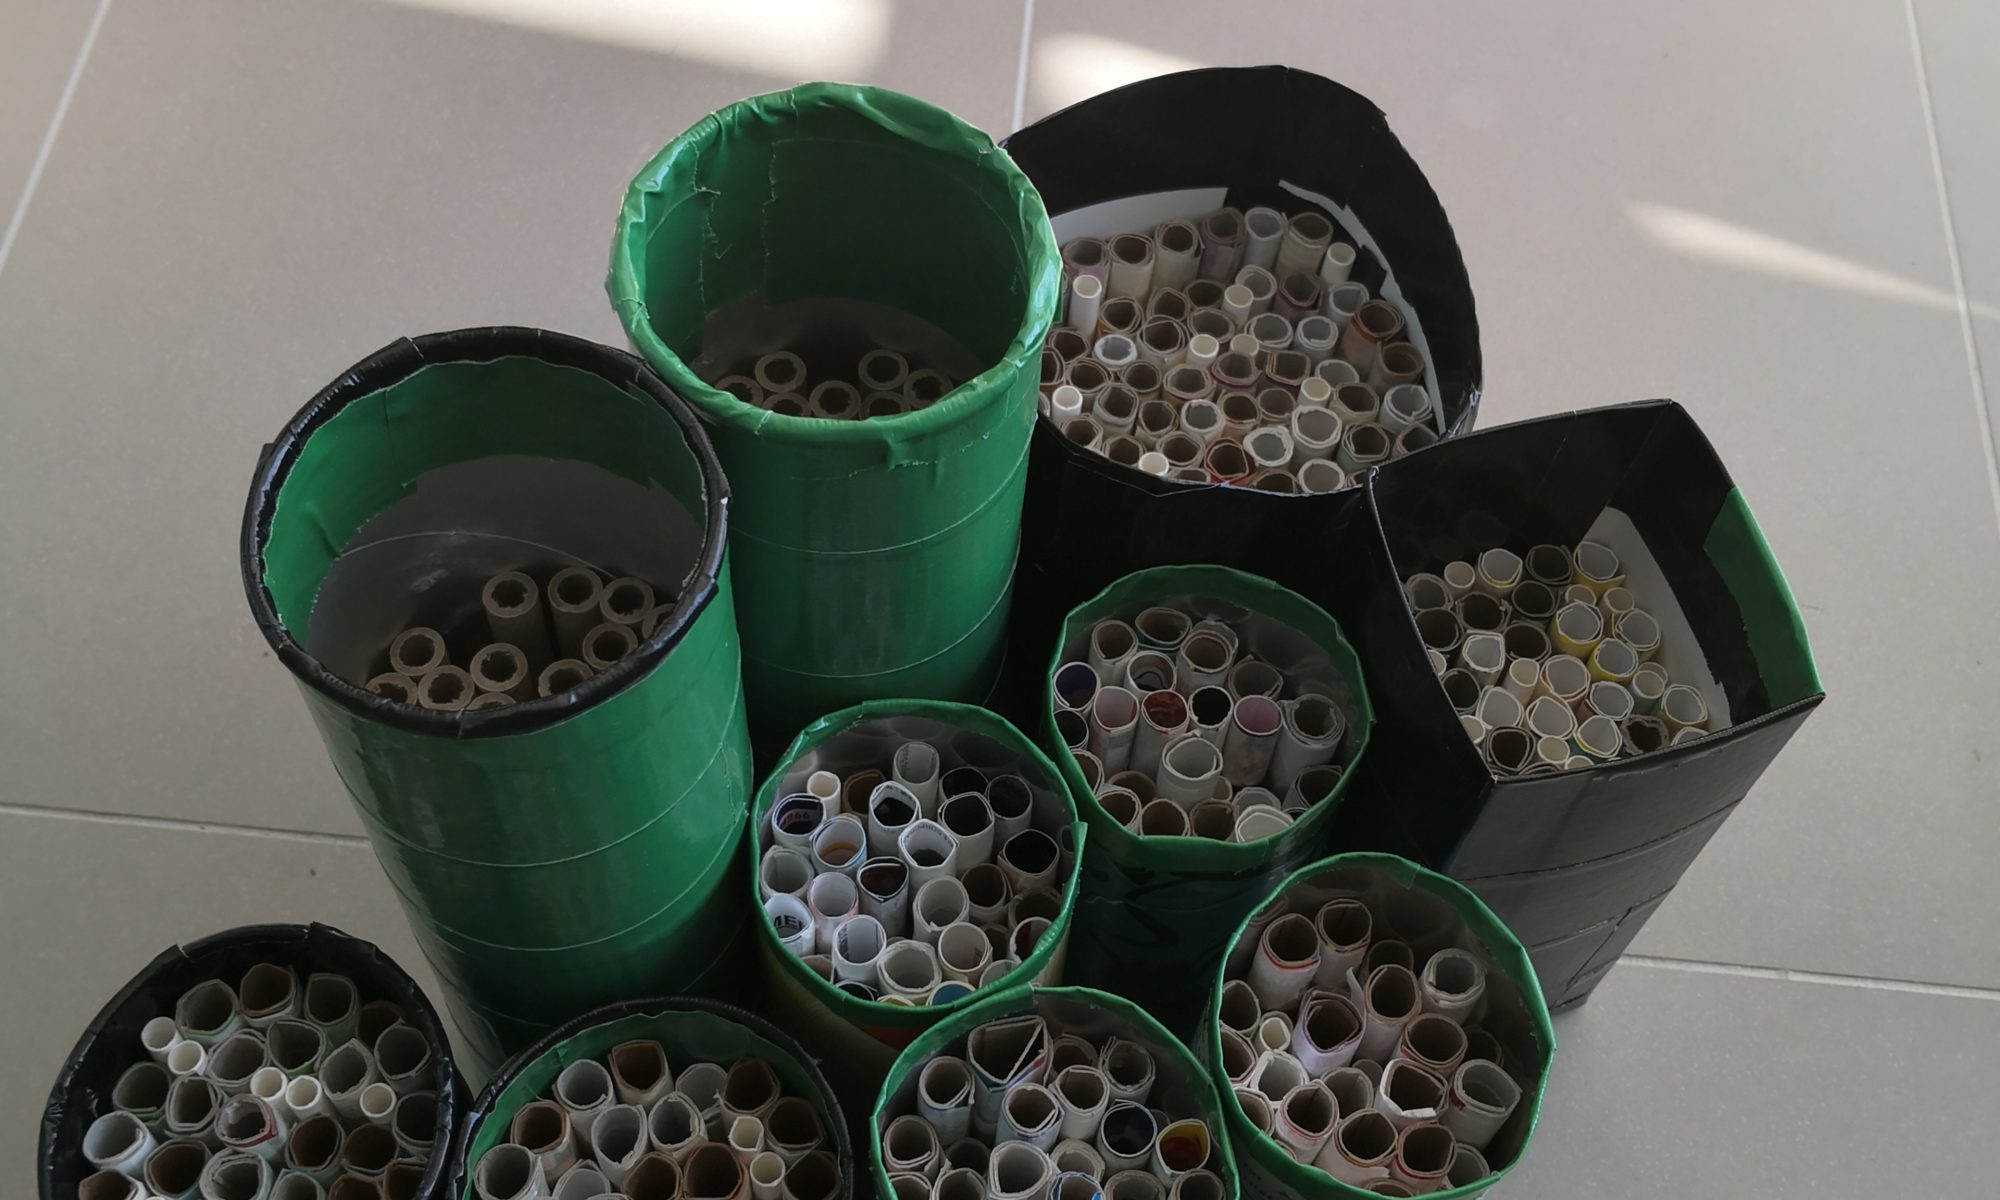
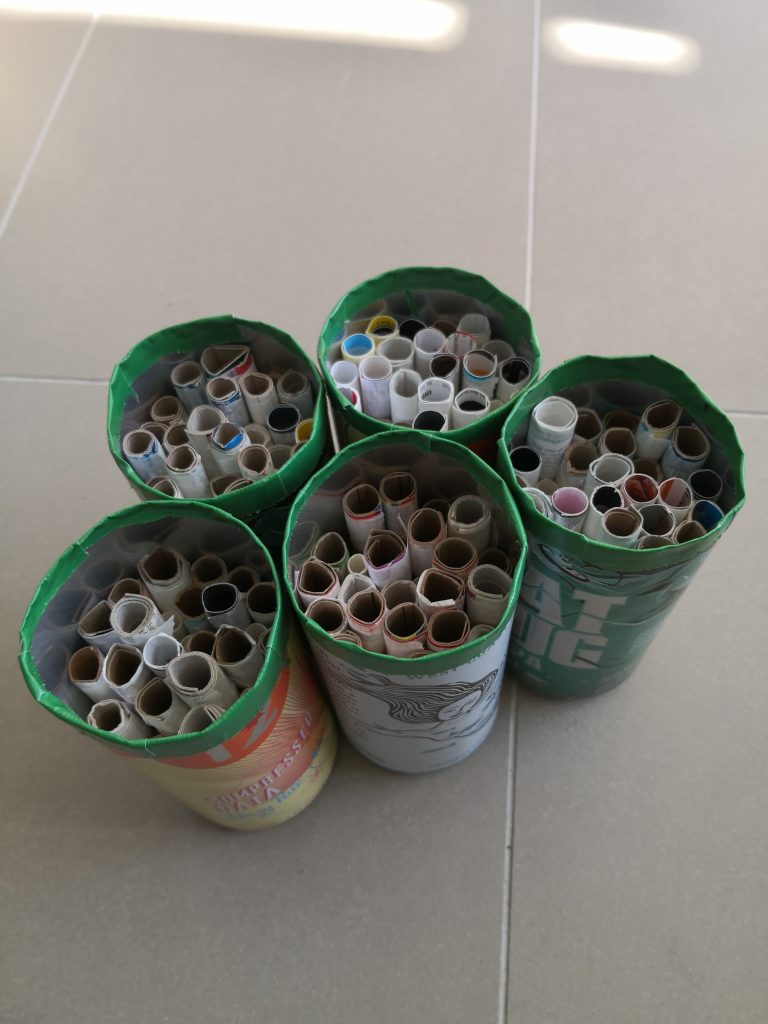
Next up is the beer can mason bee house.

  • Beer cans (473mL tall style)
  • Duct tape
  • Cardboard for rolling
  • Paper straws
  • Masking tape

Basically the same as the milk carton, expect I had to cut the tops off the beer cans. I just used a serrated knife, but use whatever you like, and be careful. Once off, cleaned and dried I used duct tape around the cut edge to smooth them. From there it was the same as with the cartons.

Beer can mason bee house


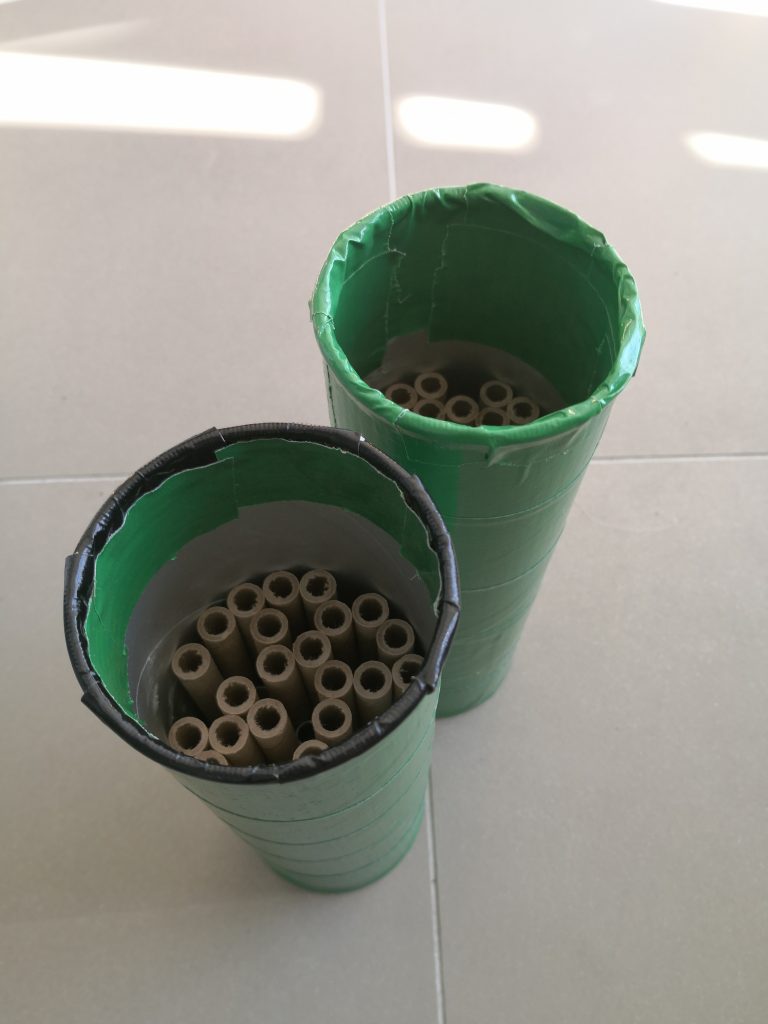
Finally, Pringles can mason bee house.

  • Tall Pringles can
  • Duct tape
  • Cardboard for rolling OR longer cardboard pre-fab tubes
  • Paper straws
  • Masking tape

Pringles can was similar to the milk carton, but is my least favorite as despite washing the inside, the sides remained slippery. The tape isn’t sticking as well as the others, so we’ll see how these ones perform.

Pringles can mason bee house


Over the next several days I’ll be placing these mason bee houses around the property here, as well as a few other locations I saw frequented by mason bees last year. As always, I’ll be positioning the bee houses facing southeast, and to the extent possible under cover to limit the risk of water ingress.

Thoughts?

It’s Almost March, Are Your Native Bees Ready?

Prepping tubes for mason and leaf cutter bees.

Buy Bright Creations mason bee tubes – US

Buy Milliard mason bee tubes – Canada

Just like that we’re (hopefully) through the worst of winter here in the Pacific Northwest. We’re into March in a month, which means it’s time to ready your bee homes, and the residents they’ll house. 

While there aren’t any blooms out at this point, other than a handful of crocus’ providing a splash of colour, the various berry bushes have produced buds, with the gooseberries showing the first hint of leaves. It won’t be long now, and previous years have taught me that without the mason bees, we’ll be lucky to get fruit from the gooseberries, blueberries and currants.

My chief learnings from the last year would be the following, along with mitigation ideas for this time around.

  • Angle the bee houses slightly forward. Last year, despite facing the tube openings eastward there were a few days with heavy wind and rain that saw moisture enter the bee home. This year I’ll be tethering the homes more securely to their anchors to prevent even the slightest shifting in wind, and I’ll be angling them slightly forward so that any liquid that enters has a natural path out.
  • Reconsider wooden bee houses. My wooden houses are in rough shape after only two seasons. This year I’m thinking of trying to repurpose something like plastic milk jugs or 2L soda bottles to form the shell of the bee home. Benefits I’m hoping for are that it allows reuse of an existing material, is impermeable to water, can be cut to the necessary dimensions including an overhang to limit water ingress, and won’t break down under the stresses of Vancouver weather. The test will be securing the bee tubes side the slick plastic shell.

Finally, if you’re looking for a source of good quality, well-priced mason bee tubes here are the ones I’m testing this year. I’ll be comparing them to the drilled bamboo tubes I used last year.

Buy Bright Creations mason bee tubes – US

Buy Milliard mason bee tubes – Canada

There you have it. Good luck!

The Problem With Pollinators – Early Flowering Plants And Missing Bee Population

Mason bee home suspended in a tree - Vancouver, BC

Buy Mason Bee houses and refill tubes – US

Buy Mason Bee houses and refill tubes – Canada

What’s the problem with pollinators? There aren’t enough of them… and they sleep in.

My second year, I added berry bushes to the roof, and added to the count this past season. What I found is that the berries bud and flower much sooner than vegetables in this climate, and apparently much sooner than bumblebees and honeybees surface to help with pollination. As a result, I’ve had very limited fruit production, though this past year I was able to get some improvement by manually making the effort.

The fruit in question are:

  • Gooseberries (european): 2 bushes
  • Blueberries: 2 bushes
  • Currants: 3 plants

Growing blueberries, gooseberries and currants – Amazon.ca

I don’t know if the issue is that local pollinators aren’t emerging at the same time, or whether the location, and relatively limited flower options means they don’t visit until blooms are more abundant. Regardless, it’s a problem that I’m trying to deal with on a couple levels in 2019.

First, I scattered wildflower seeds in some beds reserved for non-edibles in hopes that they will emerge and flower to provide additional options for any pollinators that do emerge and visit early in the year.

Second, I’ve purchased a number of solitary bee homes and will be seeding them with mason bees in March, in hopes that the early-emerging mason bees will bridge the time between early flower emergence and the arrival of the pollinators that service the broader pool of fruit and vegetable plants.

If anyone has other ideas I’m all ears, as I’d like nothing more than to have bushes loaded with berries through the spring/summer of 2019.