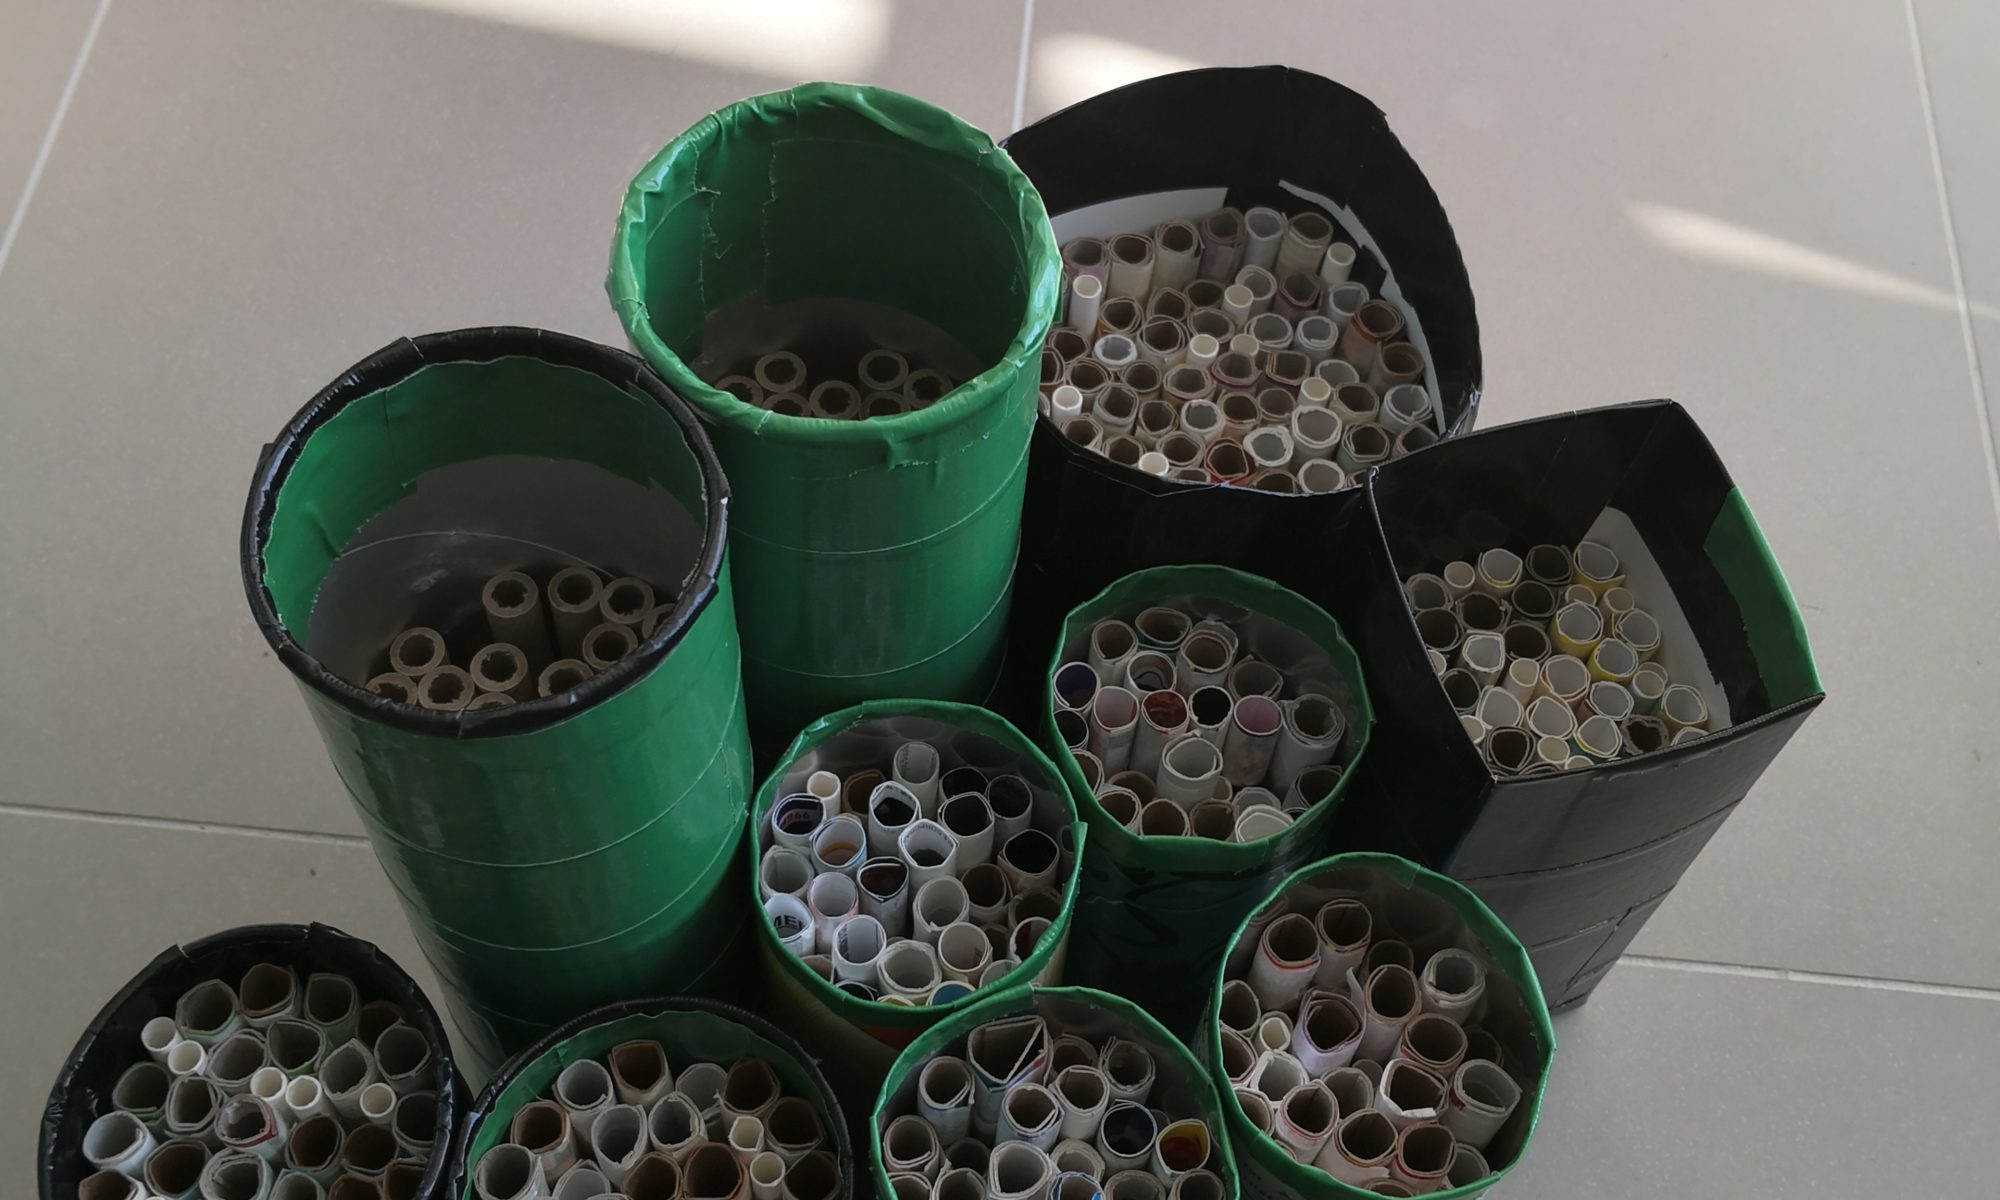
The following outlines my attempts to create a few low budget mason and leafcutter bee houses to spread around the property. Houses I won’t be overly concerned about should weather or other factors damage them during the hear. They are NOT pretty, so if you’re looking for mason bee houses to improve the appearance of your garden consider one of the following (but remember to take them in over winter else you’ll be buying again next year.
Mason bee houses shipped from Canada
Mason bee houses shipped from the US
My mason bee houses are in bad shape. Really bad shape. Being the fool that I am I forgot to bring them in and left them to the elements on the roof through a very wet, very cold winter. Rather than spend for new, nicely designed houses I’ve decided to get scrappy and go the DIY route.
What do I have so far? A whole lot of ugly, but ugly that just might work if placed in the right locations. I wanted something light, that wouldn’t break if dropped, and that required as little work as possible. I used cardboard from the recycle bin (toilet paper rolls, cereal and cracker boxes etc) to make the mason bee tubes, rolling the cardboard around a pencil and taping them once rolled using masking tape. Pay attention to which direction the cardboard ‘wants’ to roll and it will make your life much easier. Last year I used dollar store bamboo and did a pass with a cordless drill to open up any tubes that weren’t fully accessible. These worked, but opening the bamboo was a real challenge. I’m hoping the cardboard will be much easier to open in the fall in order to recover and clean the cocoons.
Also, I’m considering placing some kind of mesh at the entrance to prevent larger animals (birds, squirrels etc) from ruining things, and giving the bees some measure of protection while they work.
The three ‘designs’ I’ve tried so far start with the milk carton mason bee house:
- Milk carton. 1L size, to cut off.
- Duct tape
- Cardboard for rolling (toilet paper tubes, cereal boxes, etc)
- Paper straws
- Masking tape
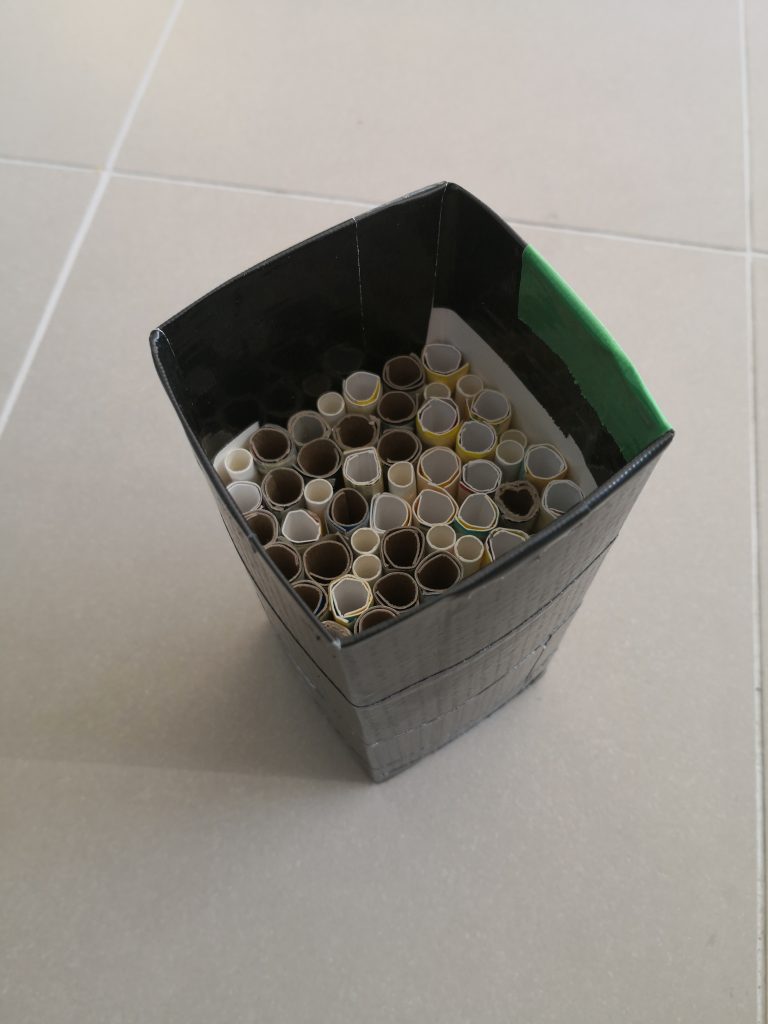
I used the duct tape to ‘waterproof’ the paper milk carton, including about 2 inches inside the lip of the carton to both protect the exposed cardboard from the initial cut, and to provide some texture for the tubes to catch against. I used a blend of tubes (different cardboard sources and slightly different lengths) an also included a few smaller, paper straw tubes in case other bee types show up. All tubes were pushed against the back of the carton, and I kept adding until I could add no more.
Next up is the beer can mason bee house.
- Beer cans (473mL tall style)
- Duct tape
- Cardboard for rolling
- Paper straws
- Masking tape
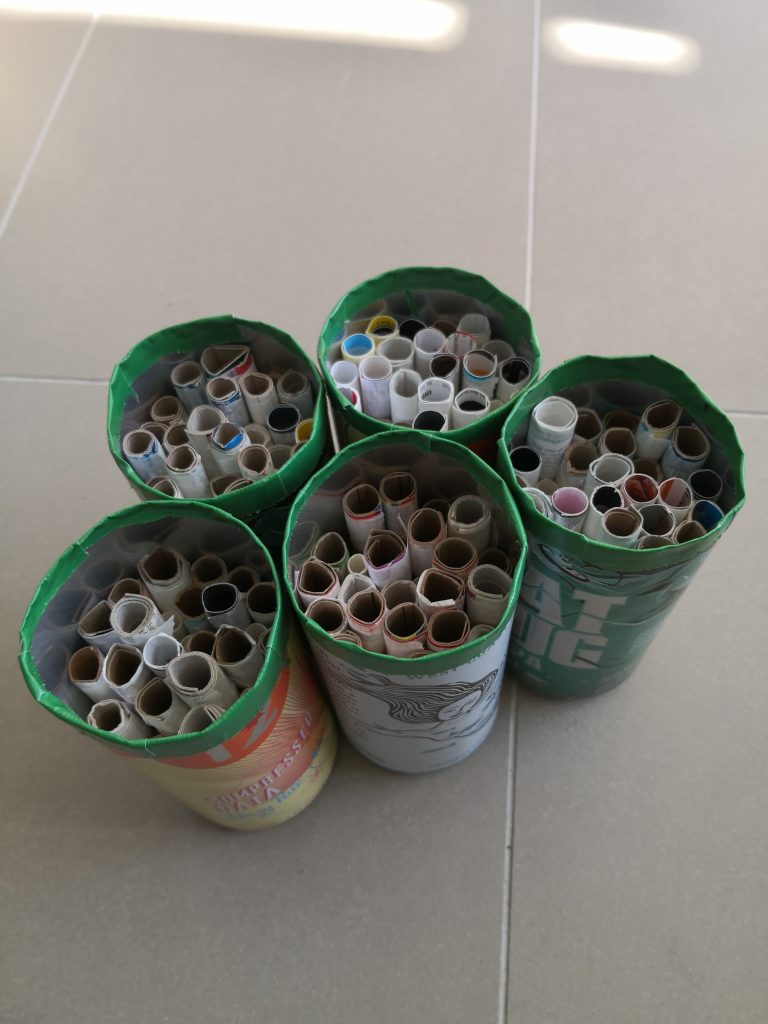
Basically the same as the milk carton, expect I had to cut the tops off the beer cans. I just used a serrated knife, but use whatever you like, and be careful. Once off, cleaned and dried I used duct tape around the cut edge to smooth them. From there it was the same as with the cartons.
Finally, Pringles can mason bee house.
- Tall Pringles can
- Duct tape
- Cardboard for rolling OR longer cardboard pre-fab tubes
- Paper straws
- Masking tape
Pringles can was similar to the milk carton, but is my least favorite as despite washing the inside, the sides remained slippery. The tape isn’t sticking as well as the others, so we’ll see how these ones perform.
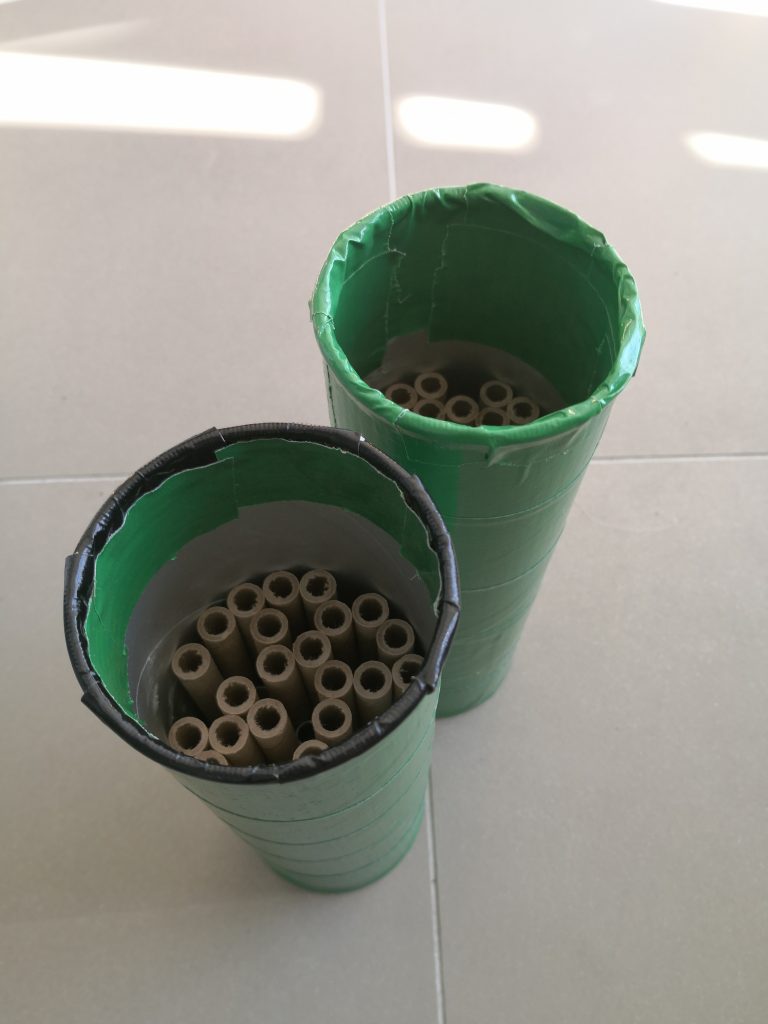
Over the next several days I’ll be placing these mason bee houses around the property here, as well as a few other locations I saw frequented by mason bees last year. As always, I’ll be positioning the bee houses facing southeast, and to the extent possible under cover to limit the risk of water ingress.
Thoughts?
