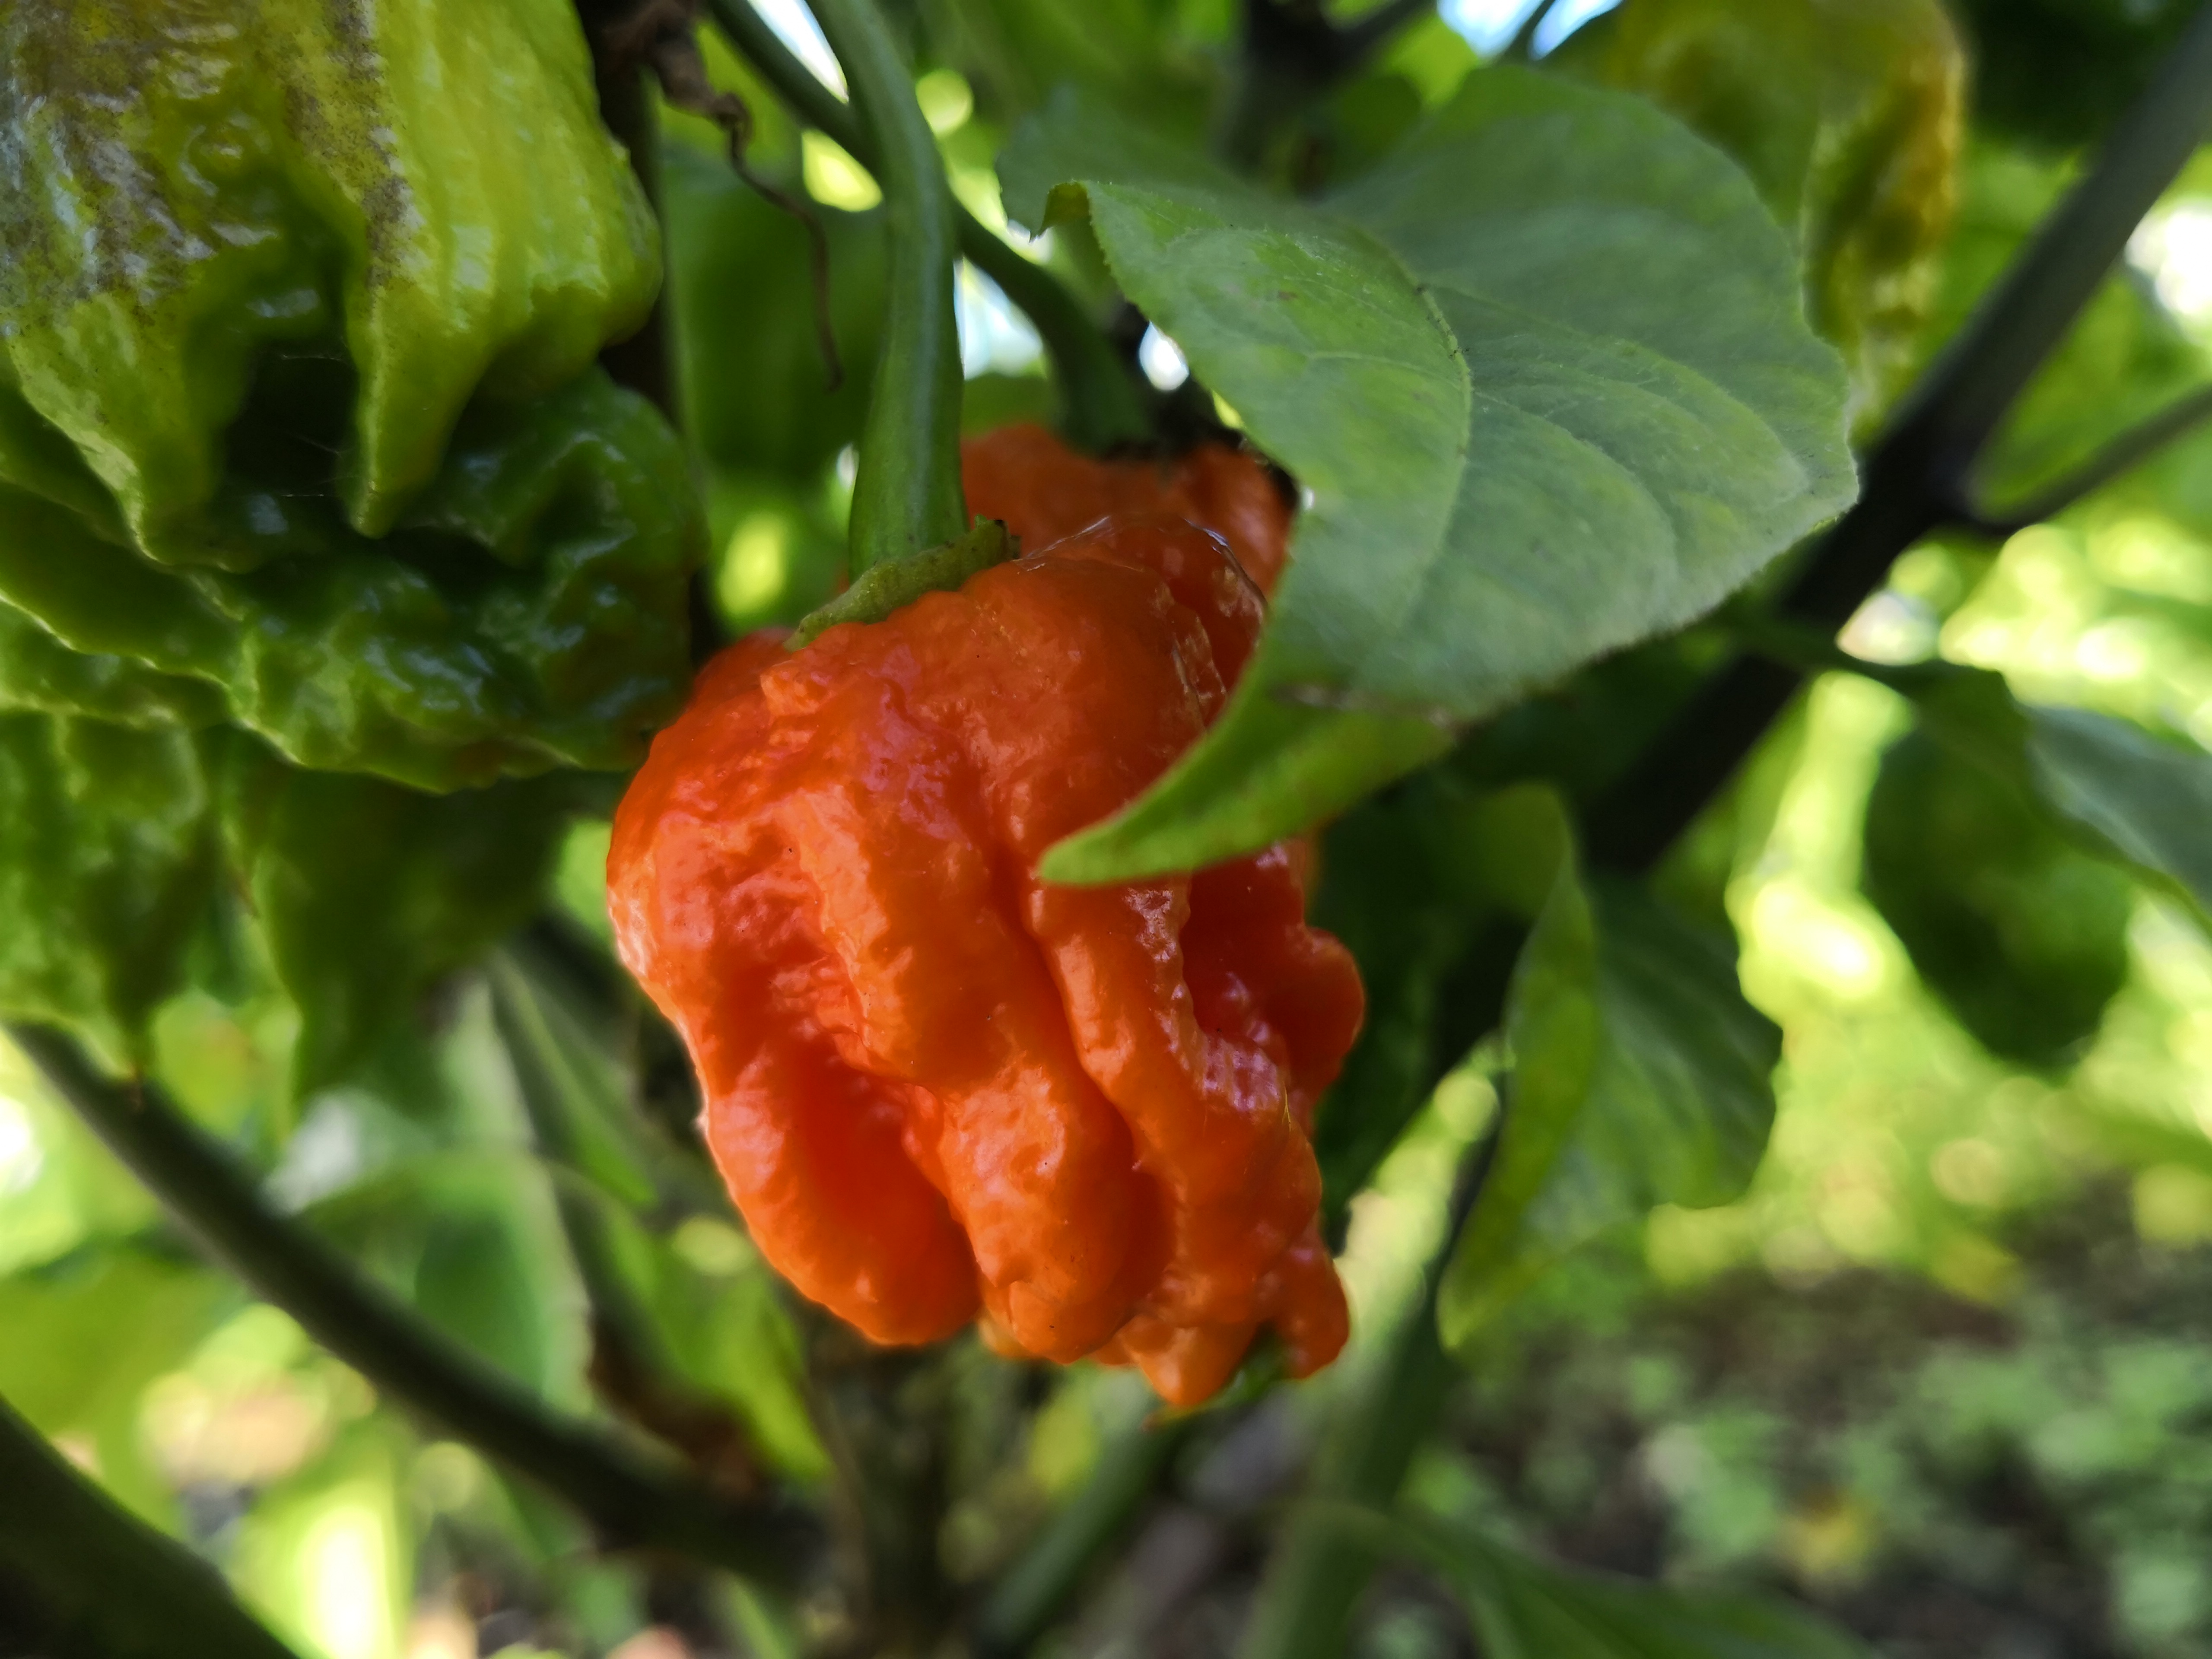
The Super-Hots: Bhut Jolokia

My single largest plant in 2018, and also the heaviest producer was a ghost pepper (bhut jolokia). This one was from a purchased start (I didn’t grow it from seed), and after a brief period to acclimate it took off. By season’s end it was about two feet high and equal in width, and LOADED with peppers. The other 5 bhut jolokia plants weren’t as big, but they put up a decent effort and production as well.

Observations were as follows.

  • It took a bit after the transplant for them to grow at all. I was initially worried, but once they started they didn’t stop.
  • Production happened all at once, but again, fruit growth and ripening was very slow at first to the point I wasn’t sure would get ripe peppers before the season ended.
  • The ghost peppers can get quite large. Of all the hot peppers I grew this year they were the largest… but they were also some of the thinnest walled. Some seemed almost dry when cut open with huge hollow cavities.

I don’t know that I’d do much different next year. One thing that was common across my largest plants was that they were closest to a glass barrier that shielded them from direct wind while letting late day sun through. Other plants benefited from this same wind break, but not so completely. I expect it resulted in cooler temperatures the further away the plants were as the wind increased. Given this I may think about how I can extend the wind protection without reducing sun/heat exposure across the board.

Home Grown Hot Pepper Powder. One Vancouverite’s Super Hot Experience

Home made hot pepper powder

Buy vegetable dehydrator or pepper grinders – US

Buy vegetable dehydrator or pepper grinders – Canada
 

What to do with hundreds of super-hot peppers? Last year I made some pepper sauce that seemed to win folks over. This year we’ll try that again, and I’ll provide details in another post. In addition to sauce, I’ve decided to give pepper powder a shot.

Step 1. Get a dehydrator. I went for one from Canadian Tire because a) they’re nearby and b) I found myself with a relatively unbooked weekend right around the corner and so didn’t want to wait for something to be shipped. The specific device I purchased was the Hamilton Beach Digital Food Dehydrator. You can get it cheaper online, and there were cheaper options at Canadian Tire, though not in stock the day that I went. It’s a pretty simple device. Five trays and a lid, along with two finer mesh sheets and a fruit leather sheet which I just set aside for now. The dehydrator basically has temperature (I used the default 130 degrees) and time settings along with a Start button. No problem.

Step 2. Prepare the peppers. I’d already washed my peppers so I removed the stems, split them in half and removed the core and most of the seeds (but not all). I laid them out with some space between and then stacked the trays and added the lid. What I learned after the first batch:

Lesson 1 is that there’s no need to leave space between the peppers. They shrink a LOT, so future batches I had them right up against one another.

Lesson 2 is that the peppers will dry much faster if do more than half them. In later batches I halved the peppers first, then cut several additional slits along the fruit, especially where the peppers narrow to the tip. This allowed the fruit to flare out a bit and I think it allowed them to dry faster.

Lesson 3 is that some peppers dry much faster than others. Carolina reapers and bhut jolokia have thin walls and dried out super fast. My habaneros were more like bell peppers with thicker walls and much more moisture. They took a lot longer to dry.

Step 3. Dehydrate your peppers outside. I plugged mine in out on the balcony and let it run. After about six hours I poked my head out and the fumes were still very strong. I can’t imaging what dehydrating these peppers inside would do to your home, let alone your eyes and throat. Find a covered location away from pests and plan to use that.

Step 4. Wait. Mine took a couple days, running at 12 hours a day minimum. Even that wasn’t enough for the larger habaneros which I put in with the next batch.

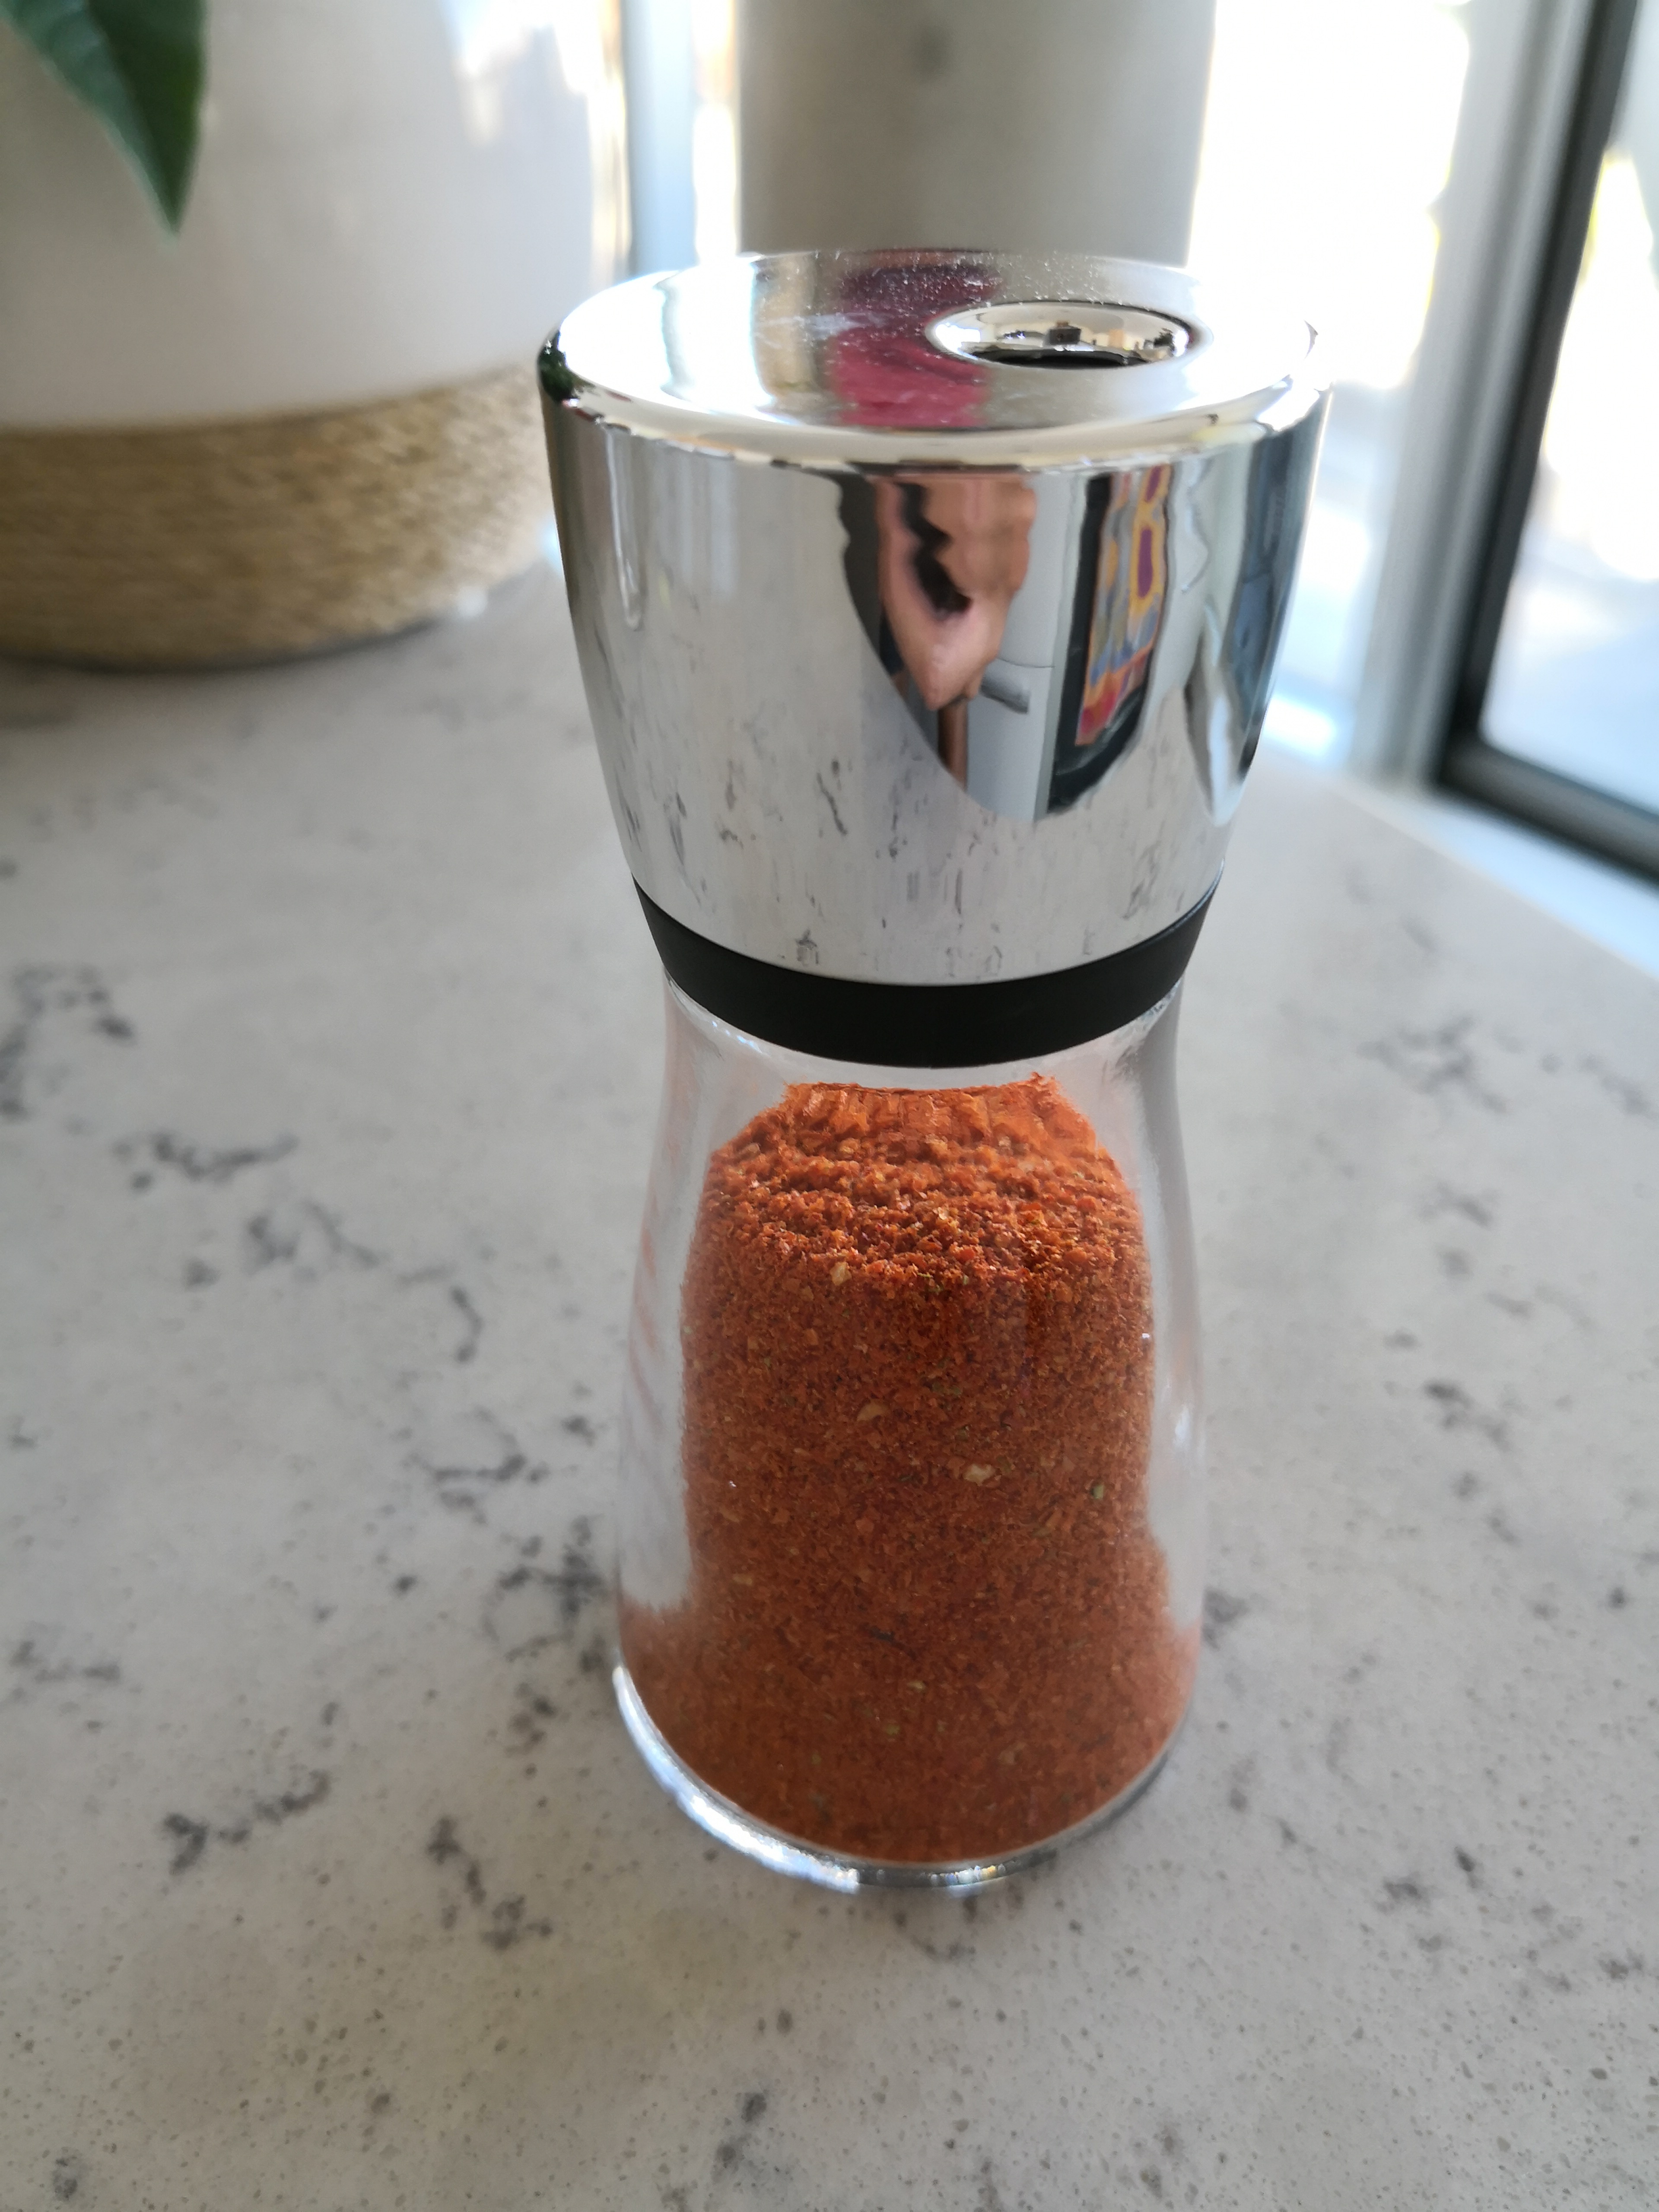
Step 5. Crush / grind the dried peppers. I wasn’t well prepared at the time my peppers were dried, and didn’t want to wait a day for stores to open so I grabbed a mortar and pestle, along with my trusty powder-free nitrile gloves (Buy in US or Canada) and went to it. I recommend you don’t follow my lead. While this did reduce the volume of most pieces, there was no consistency and it did nothing for the seeds. Additionally it messed up my mortar and pestle for any future grinding that shouldn’t involve spice. What I found that worked well for my needs was a spice mill microplane. While it provides quite a wrist workout, it mills the pepper flakes and seeds to a consistently fine powder. My only concern would be for someone doing a LOT of milling in which case I suggest you find something that takes the same approach, but does so electrically.

Step 6. Pack it up. I found some small spice bottles that allow dosing by adjusting the top. This powder is HOT, so precision will be appreciated. I originally was going to use small standard jars, but there’s no way to deliver appropriately small doses of the spice without having to use a spoon.

Anyway, that’s my initial experience. I’m sure there are better approaches and I’m all ears to hear them, but what I’ve described above has worked for 2018.

Buy vegetable dehydrator or pepper grinders – US

Buy vegetable dehydrator or pepper grinders – Canada
The Super-Hots: Carolina Reaper

Carolina Reaper in Vancouver

Fortunately we experienced another hot (for Vancouver) summer this year, which the pepper plants clearly enjoyed. Cold periods in the spring definitely delayed the plants materially, to the point I wasn’t sure if they’d survive. Fortunately both those started from plants, as well as those started indoors from seed managed to recover and produce.

Of all the hot peppers grown this season, the Carolina Reapers were the ones I was most concerned about. They started slowly (very slowly) and took a while to start setting fruit. Fortunately, once they got going they really took off with one of the reaper plants being the second largest across all varieties. Production was good as well, though not in line with plant size.

Observations & Learnings

  1. These peppers seemed less cold tolerant than the other types I grew this year.
  2. My reapers seemed to build heat later than others. For example, I (cautiously) tried a fully formed, but still green pepper and was able to eat it as I would a bell pepper. There was no hint of heat.
  3. Don’t let point 2 fool you, these things are crazy hot. I still don’t understand how someone can just throw an entire, fully ripe Carolina Reaper in their mouth and not completely fall apart.
  4. Carolina reapers require more post-harvest preparation for use than others. The reapers are not only ‘bumpy’ but folded in on themselves consistently. I encountered trapped material in these folds for most of my peppers, which required cleaning. This wasn’t easy and in some cases scratched the pepper itself, so wear gloves (which you should do regardless). I hesitate to mention, but I found small webs in some of these crevices, suggesting that spiders or something similar are taking advantage.

A Handful Of Wildflowers Seeds Makes All The Difference

Transitioning the rooftop from the original lambs ears, creeping thyme and various others to fruits and vegetables has been a gradual transition. The original plants showed mixed levels of success, and where they faltered, unsightly weeds quickly took hold. While we have attempted to pull the weeds as they arrived, they were quick and plentiful, so this year we took a different approach.

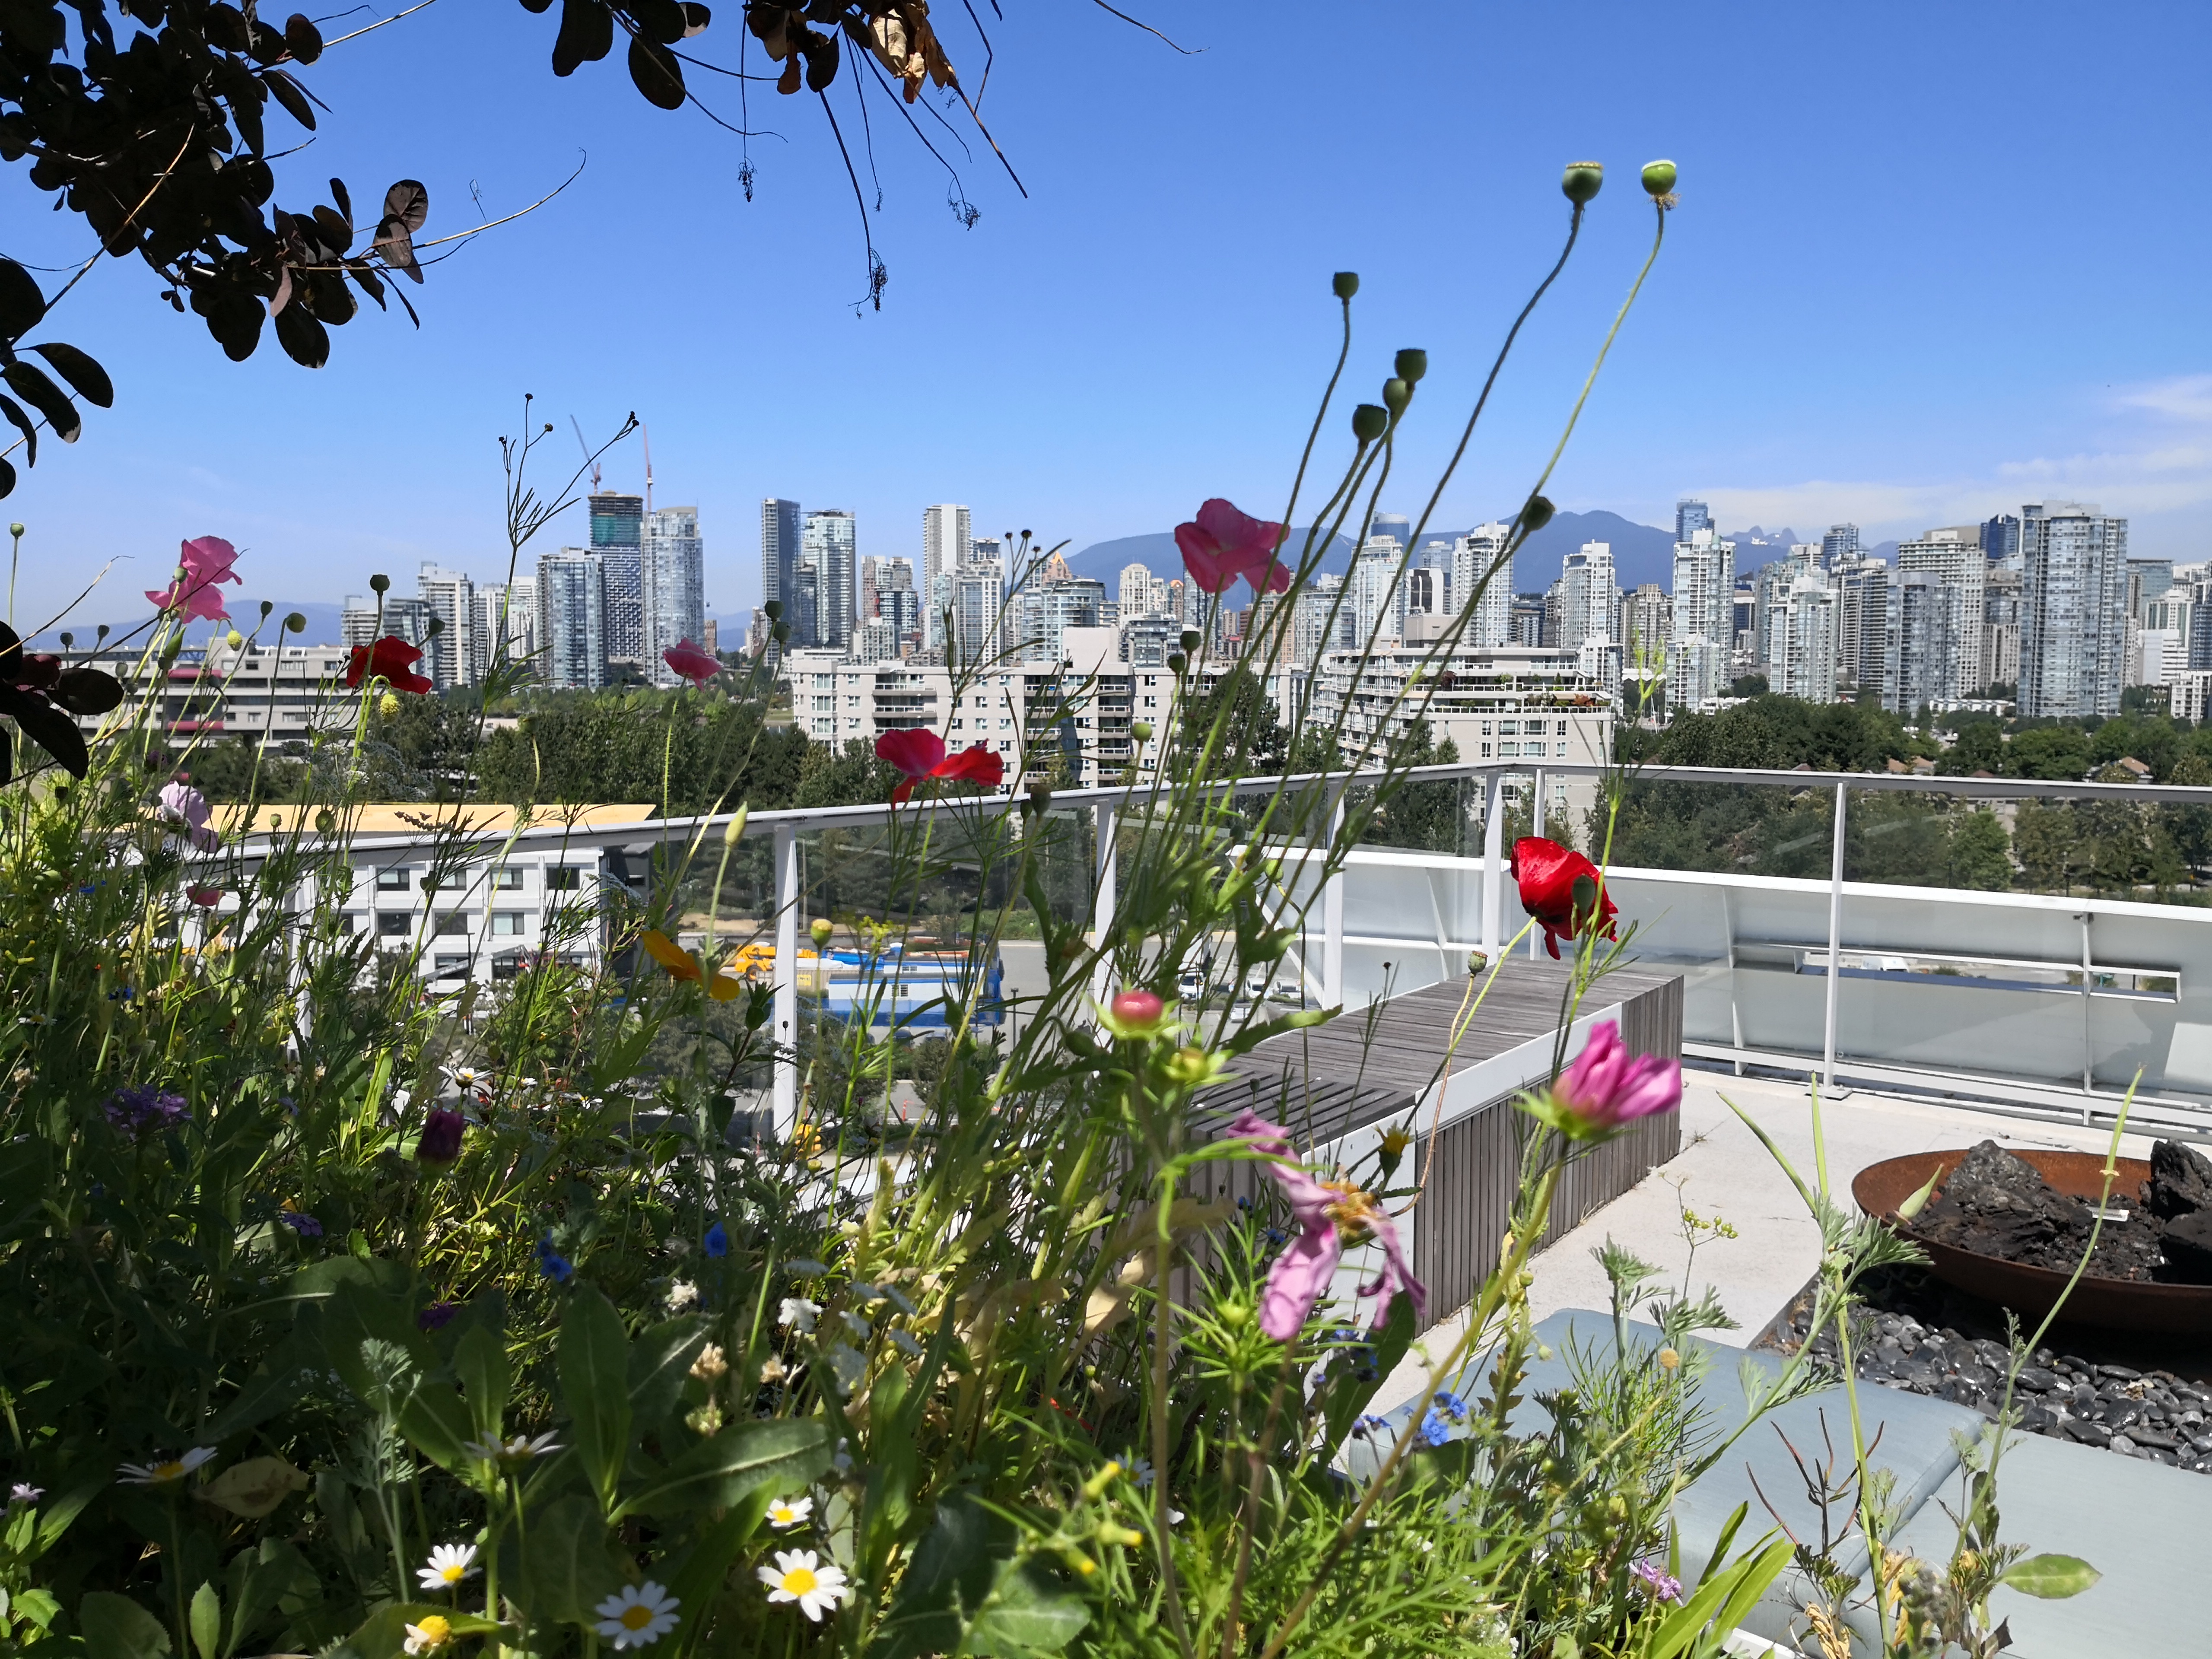
After an initial clearing of vegetation (both what remained of the original plantings, and the early weeds) we scattered wildflower seeds in the most visible, and not yet tackled planters. What resulted was better than we’d hoped with bursts of colour presenting all season long.

We purchased our seed mix from westcoastseeds.com, spreading their Beneficial Insect Blend, Bee Garden Blend, and Pacific Northwest Blend with decent germination across the board. I should also mention that we tested a single packed last season, and found the flowers had self-seeded impressively this year.  Projecting forward, 2019 will be colourful indeed.

The Vertical Gardener

I has been suggested by several parties that I should document my experiences growing fruits and vegetables on a Vancouver rooftop. After much procrastination I’ve run out of reasons not to do so, and have decided to give it a shot.

Background.

We moved into a mid-rise building outside of downtown Vancouver a couple years ago. Prior to that we lived in Kitsilano and container-gardened to the extent our small balcony and filtered sunlight would allow.

Year One.

On moving to our current location, the rooftop was initially planted with various types of vegetation, none of which were edible and few of which looked particularly nice. In fact, two of the planters weren’t planted at all, and so that first summer I seeded both and found that they produced quite well in the unobstructed sun (there are no skyscrapers nearby to interrupt the rays). That first year in what amounted to about 50 square feet we grew herbs (thyme, chives and rosemary), tomatoes, tomatillos, cape gooseberries, strawberries, beans and peas with surprising success. It wasn’t without lessons however. In our case, unobstructed sunlight comes along with largely unobstructed wind, and all that it entails. Seeds arrive from who-knows-where, storms lash all but the low-growing bushes, but all things considered the plots and location were successful.

Year Two.

I tore out a portion of ‘lawn’ in one of the lower raised beds and expanded the ‘farm,’ slightly more than doubling the square footage. Production included the varieties from year one and added some additional experiments. These included watermelon (we managed to produce two), a gooseberry bush (no fruit that year), carrots, peppers (shishito, mini bell, bhut jolokia, habanero and a few mislabeled varieties). Again we generally had success with enough vegetables to share with others in the building. Learnings continued. Rooftop gardens benefit from absence of rabbits, rats, raccoons and the like, but of course aren’t out of reach of birds, and (surprisingly) slugs which we assume hitched a ride on the soil. Speaking of soil, ours is miserable. I assume this reflects the original intent of supporting drought tolerant plants rather than fruits and vegetables, and so we’re stuck with substrate with a large amount of crushed lava rock, presumably to aid drainage and reduce weight.