Wildflowers: Lupines (or Lupins)

Pink lupins

Buy lupine seeds – US

Buy lupine seeds – Canada

One of the first wildflowers to bloom this year is a flower we haven’t seen before. Lupines, or Lupins… Lupinus either way. I’m not sure what’s the correct name. I assume their seeds just didn’t germinate the year they were spread, and are only showing up now. 

We’re lucky to have 3 distinct colors on the roof. A large clump of purples, a smaller clump of lavender and a healthy dose of pink. Unfortunately it doesn’t appear that the flowers last very long as the first spears are already turning from petals to seed pods, but they were nice while they lasted!

For those interested, I’m assuming they arrived in one of the packets of wildflower seeds we purchased from West Coast Seeds and scattered last year. 

Buy lupine seeds – US

Buy lupine seeds – Canada

Purple lupins
Purple lupins blooming on our Vancouver roof.

The Problem With Pollinators Part II – Good, Bad And The Nasty

Buy Mason Bee Revolution – US

Buy Mason Bee Revolution – Canada

It’s the middle of April, so time for my second post on native pollinators. This year I again purchased a handful of mason bee cocoons to get a jump on pollinating until the bumblebee and honey bee populations can find the roof. I should mention that last year several of the tubes in my bee houses were filled and sealed by the mason bees introduced at that time. Unfortunately I didn’t properly take care of them over the winter, though I intend to do so this year if I’m given a second chance. For anyone else in a similar situation, here’s a handy guide to harvesting your mason bee cocoons at the end of the season: https://crownbees.com/harvest-cocoons

The Good. As mentioned above, the cocoons we set out last year hatched (not all, but many of them) and were seen happily pollinating the flowers across our roof. After a few weeks I started to see a few of the tubes closed off with mud. All in all perhaps a dozen tubes were closed in this fashion.

The Bad. First, I noticed many small insects around one of my bee houses in particular, this being the one housing the leaf-cutter bee cocoons. They were almost certainly predatory wasps, and looked like this. Their presence might explain the very low hatch rate for the leaf-cutter cocoons that I’d purchased. Also, as mentioned above I didn’t properly harvest the mason bee cocoons, and instead left them outside over the winter. Fortunately for me, almost all of the plugged cocoons appear to have hatched this spring, and I’m seeing bees buzzing about the bee houses even though the newly purchased cocoons haven’t yet emerged.

The Ugly. While most of the bees I’ve seen up close this spring have looked healthy, I’ve encountered a couple that were absolutely INFESTED with mites. If you look at the photo at the top of this post, you’ll see 6 mites hitching a ride on the bee’s back. In one instance there must have been HUNDREDS of mites on the poor bee. As such, I will be absolutely sure to properly harvest the cocoons this year, and will at minimum continue to replace all tubes with new bamboo, and possibly replace the houses themselves.

Buy Mason Bee Revolution – US

Buy Mason Bee Revolution – Canada

Growing Cape Gooseberries – Physalis peruviana

Cape gooseberry (aunt molly's ground cherry) grown in Vancouver, BC

Buy Physalis Peruviana Seeds – US

Buy Physalis Peruviana Seeds – Canada

You may be wondering what a cape gooseberry is. I’m fairly certain you’ve seen one, even if you didn’t realize what it was. Cape gooseberry, aka Aunt Molly’s Ground Cherry, aka Aztec berry, Golden berry, Inca berry or Poha berry fruit are small (in my experience less than an inch in diameter) round fruits that grow in a ‘husk’ similar to tomatillos. As the fruit mature, they change from green to yellow/orange, and the husk changes from green to brown and papery. At this point the fruit start to drop from the plant and are ready to eat. The fruit stays fresh for quite a while so long as it remains in the husk.

Cape gooseberries are related to tomatoes and potatoes as a member of the nightshade family. The flowers are very similar to those of tomatillos, and the bees seem to love them. The ripe berries are safe to eat, though as I understand it, the leaves, stalks and unripe fruit can make you sick. In my experience the plants grow to about 18 inches in height and branch to around 24 inches in diameter. One plant produces are surprising amount of fruit.

As far as care is concerned, I’ve found them very easy to grow, however there are a few things to note. First, I’ve never seen cape gooseberry seedlings for sale, so I’ve always grown them from seed. They start to sprout as soon as the soil starts to really warm up. They’ll also reseed themselves in subsequent years if you let the fruit drop. While I’ve experienced good fruiting from such self-seeded plants, I’m going to use pure seeds this year as I don’t know how crossing might affect them (I grow both cape gooseberries and tomatillos in my garden). These plants like heat so I plant them in the garden in full sun. The most success I’ve had was actually at our previous place in pots on a balcony. Amount of sunlight wasn’t that much different, but in that location the plants benefited from reflected heat off the building. Again, this is just an hypothesis. The only pests I’ve experienced were aphids which swarmed the plants two summers ago. That said, I had no issues with aphids this past year. I have no idea what the difference was.

Finally, watering. Cape gooseberries will let you know when they need water as their leaves begin to droop. I’ve tried to keep them supplied so that it doesn’t get to this point, but anytime it has they’ve recovered quickly. Toward the end of the year I’ve noticed that too much water will see the fruit split their skins. In this over-watered state they also lack the sweetness that you’re looking for… so in my opinion it’s better to under-water than over.

Don’t overthink these berries. They’re easy to grow and delicious so give them a shot. I’ve had luck with seeds from all over. I can’t speak to the different variants of cape gooseberry, but I’ve purchased seeds from Westcoast seeds and eBay with success.

Buy Physalis Peruviana Seeds – US

Buy Physalis Peruviana Seeds – Canada

Improving Your Soil – Worm Composters

Worm composter 360. Separate trays for staged composting

As I mentioned previously the soil in the planters that we use is less than ideal. We’ve taken to amending it with purchased compost and manure each spring, which has had a noticeable effect on production. While purchasing soil amendments is fine, we’ve also set up a worm composter on the roof to provide additional, free nutrients to the soil.

First, we don’t have the smaller, apartment worm composter that is provided by the city following their composting courses. We’re currently using the Worm Factory 360 Composting Worm Bin which we were lucky to pick up on Craigslist. This bin has 4 separate trays that stack one inside the other which lets you build your compost in stages, and makes separating the worms out easier. Additionally, there is a final, lower tray used to catch the compost tea, and a spigot to let you drain it when desired.
Using the Worm Factory 360 (If you’re from Canada, here’s a local Worm Factory 360 link) has come with learnings that I will share here.

  • Keep the compost bin in a somewhat sheltered location. The trays aren’t sealed, and water hitting from the side will get into the trays. We live in Vancouver, and it rains A LOT. To prevent the trays getting too wet, we’ve positioned out bin where it is open from above to allow some moisture to hit the composter, but where it is protected from the sides.
  • Keep the composter’s spigot open. I know, this robs us of the compost tea, but we’re not diligent enough to keep it drained enough to avoid the lower tray from getting soaked. If you’re checking on the bin daily, then maybe closing the spigot is fine, but otherwise consider keeping it open. It also helps that our bin is on a grassed area, so the tea doesn’t cause any mess.
  • Do not compost large pieces of bread, and any meats/cheeses. We don’t have rodent pests on the roof, so the typical rodent risk related to meat/cheese isn’t an issue. That said, we do like to avoid smells, and further we’ve found that any dense break/cake etc tends to not break down and instead just mold.
  • Rotate the compost trays. We keep the trays with the freshest material in the bottom, and the oldest/most ‘ready’ tray at the top. I’ve found that the worms in that top tray, once they’ve finished the available organic matter start to migrate down to lower, more nutritious trays, making worm extraction much easier.
Photo of a worm factory 360 staged compost bin
Worm Factory 360 Composting Worm Bin

So far we’ve made due with a single Worm Factory 360 Composting Worm Bin but given interest from others in the building, we’ll be looking at purchasing additional, or some other, larger bin to accommodate the available vegetable waste. At this point I’m thinking about either a tumbler / rolling composter, or one of the more pleasantly designed aerobins like the ones on offer at Amazon.

Buy Worm Factory 360 Composter – US

Buy Worm Factory 360 Composter – Canada

Surprising Tomatillo Production on a Vancouver Roof

Tomatillo fruit grown in a rooftop planter

Buy tomatillo seeds – US

Buy tomatillo seeds – Canada

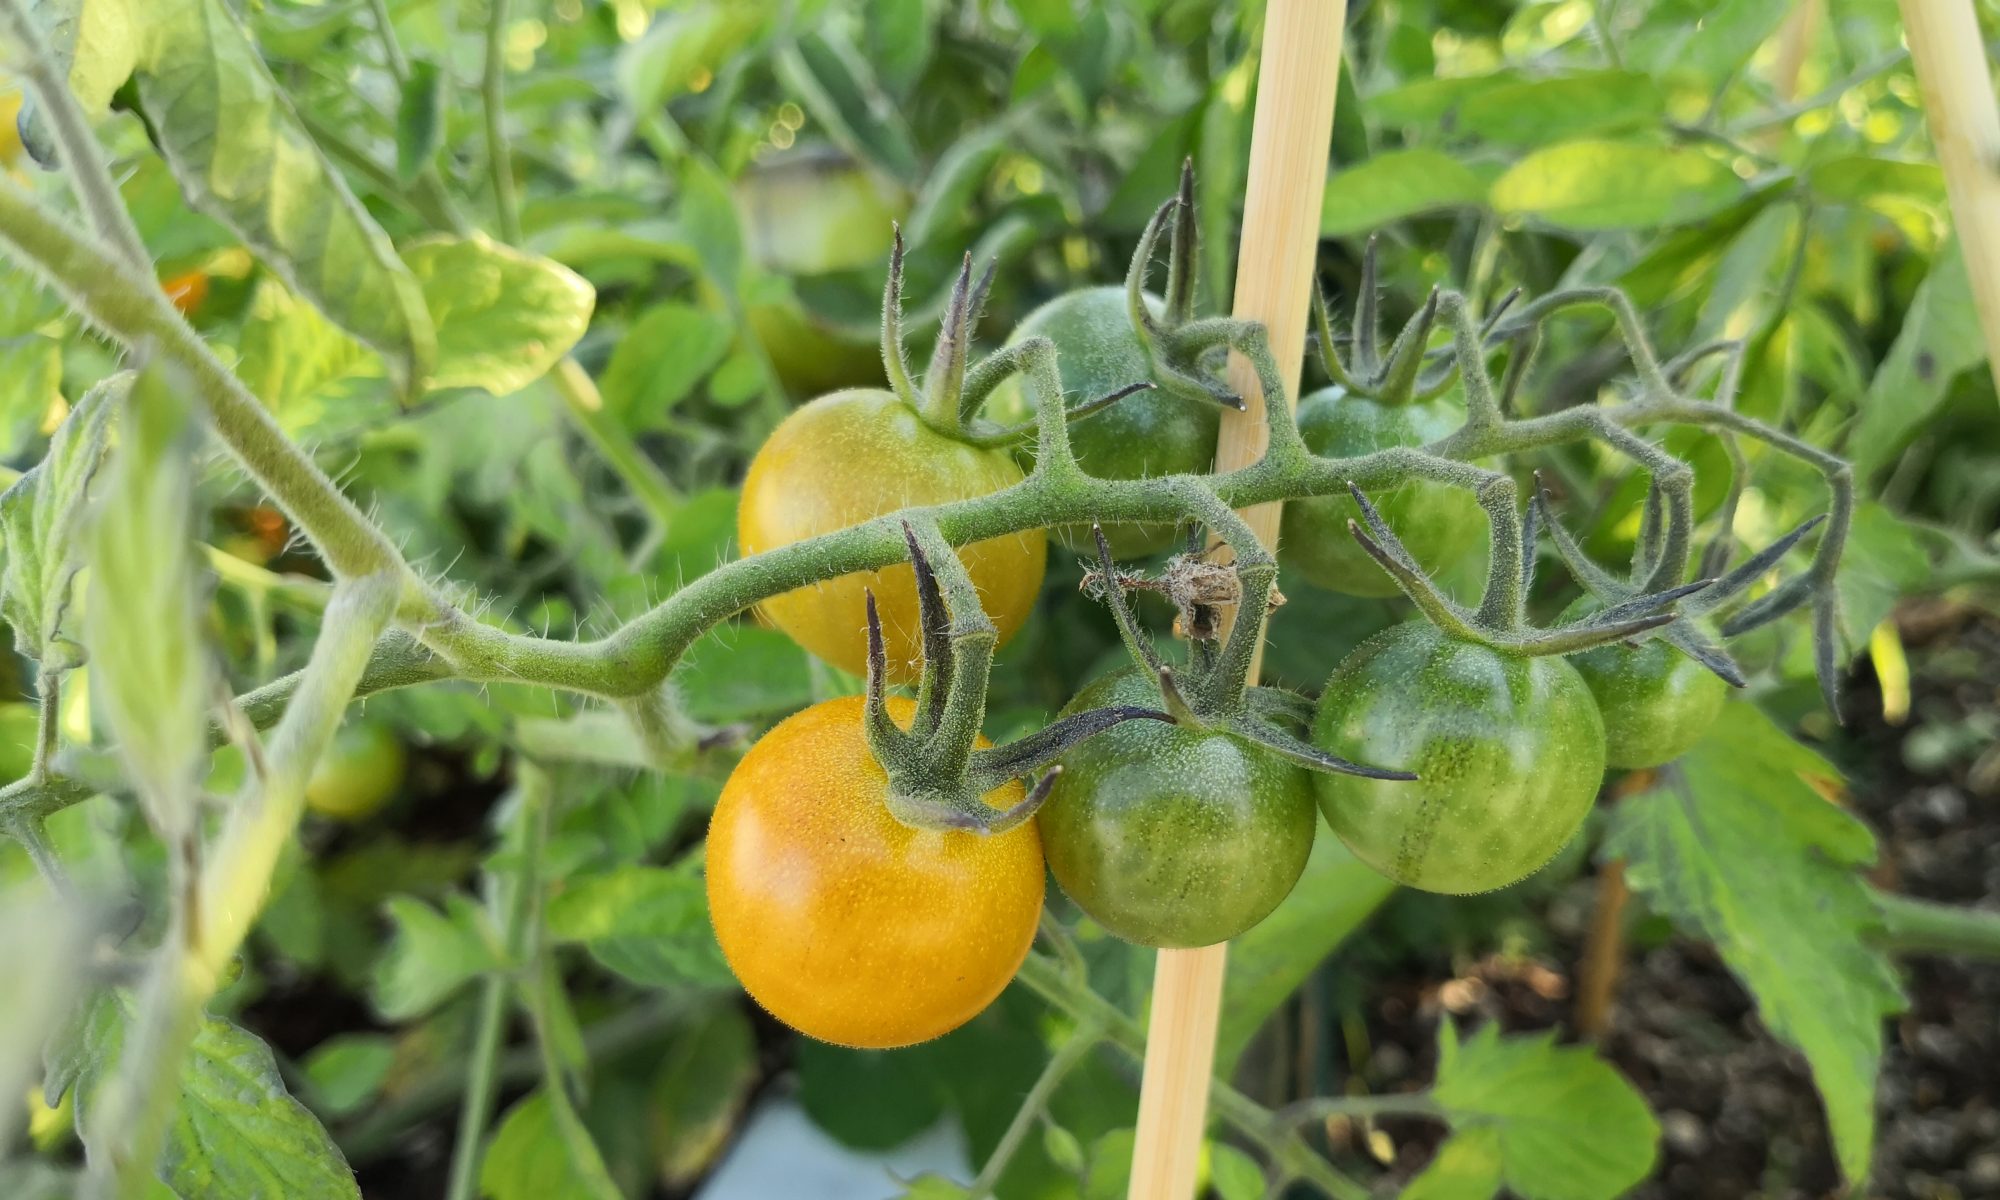
Salsa verde. That’s why I tried tomatillos for the first time about 5 years ago. Little did I know how easy they would be to grow in Vancouver, and how much fruit they would produce.

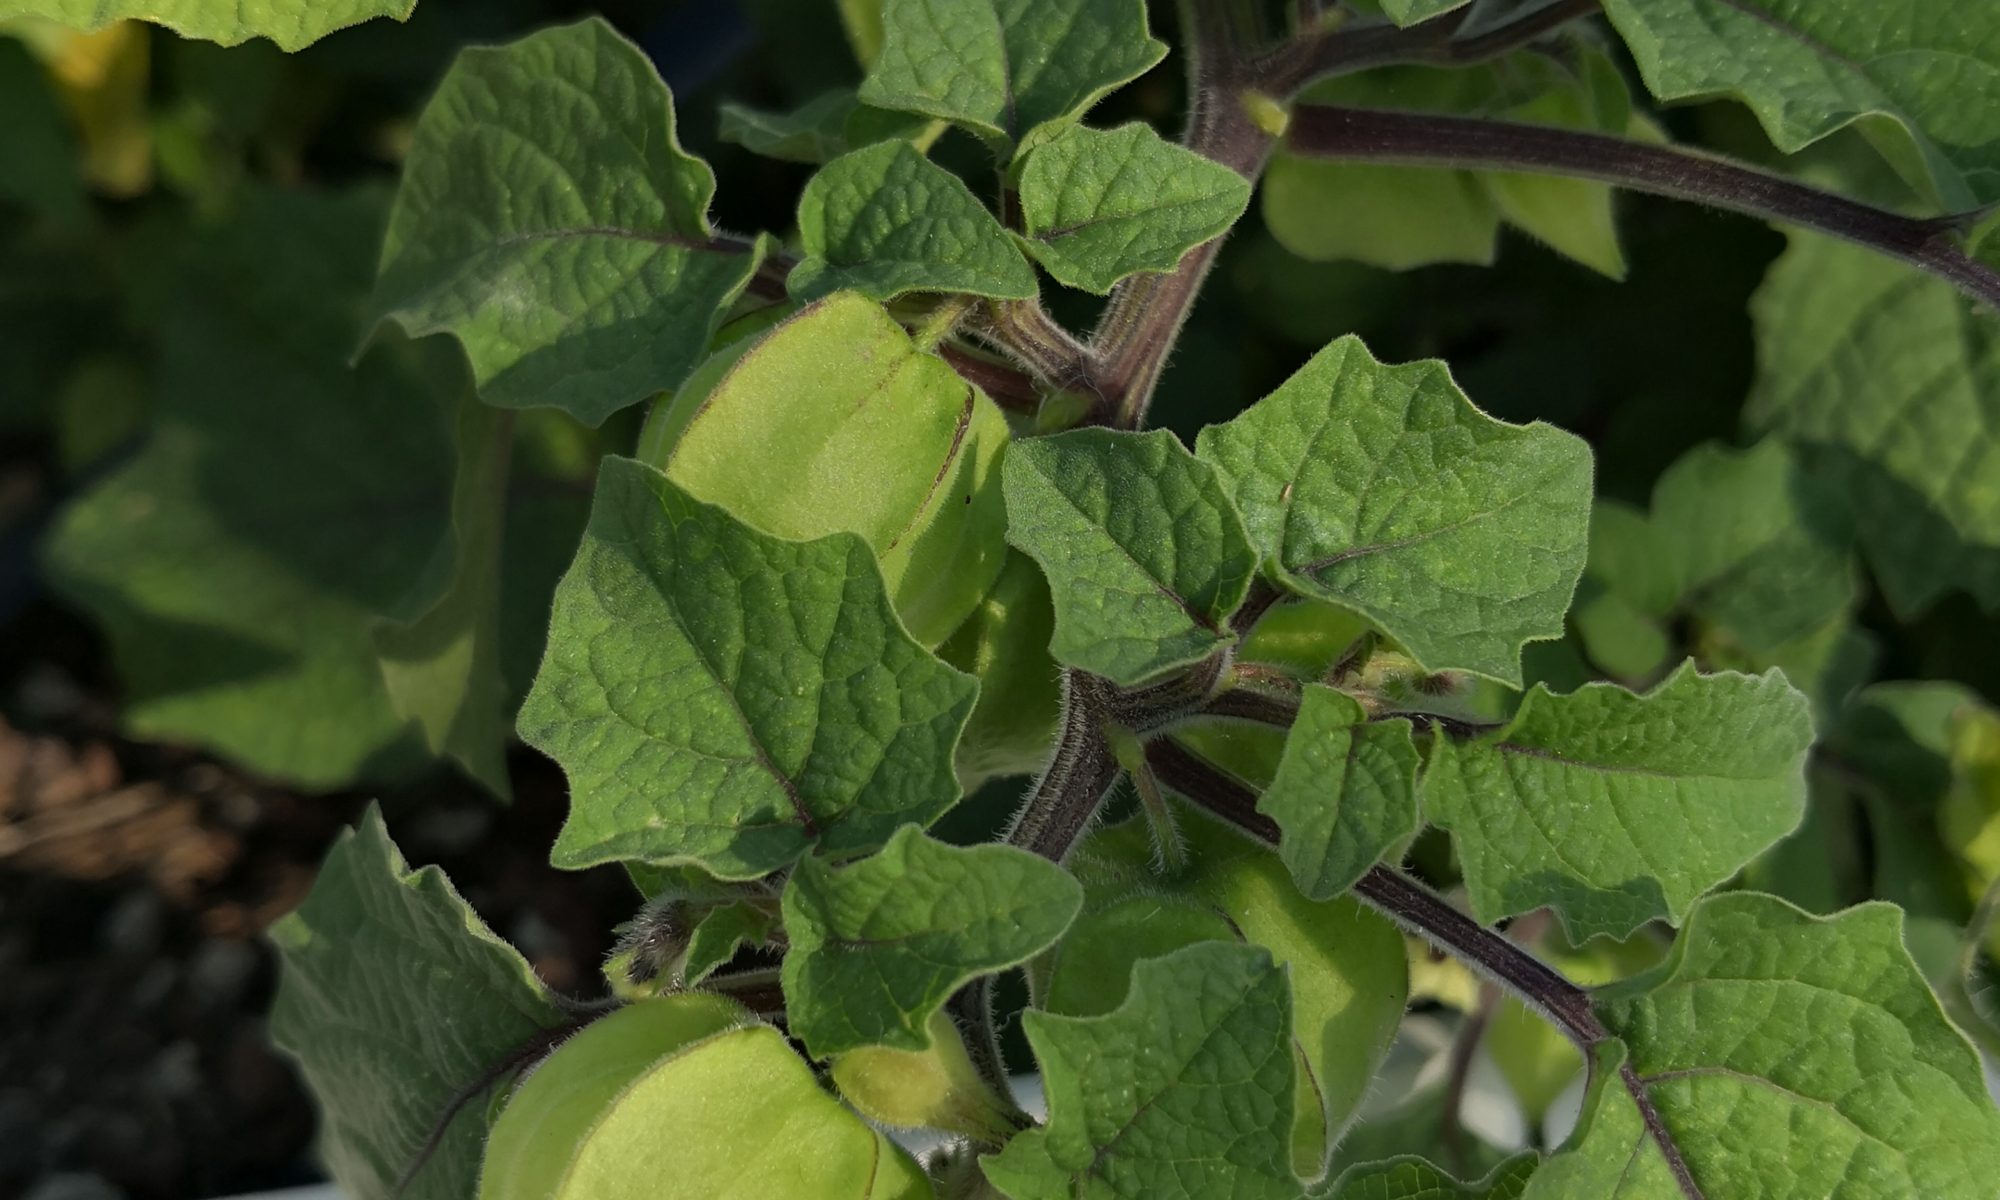
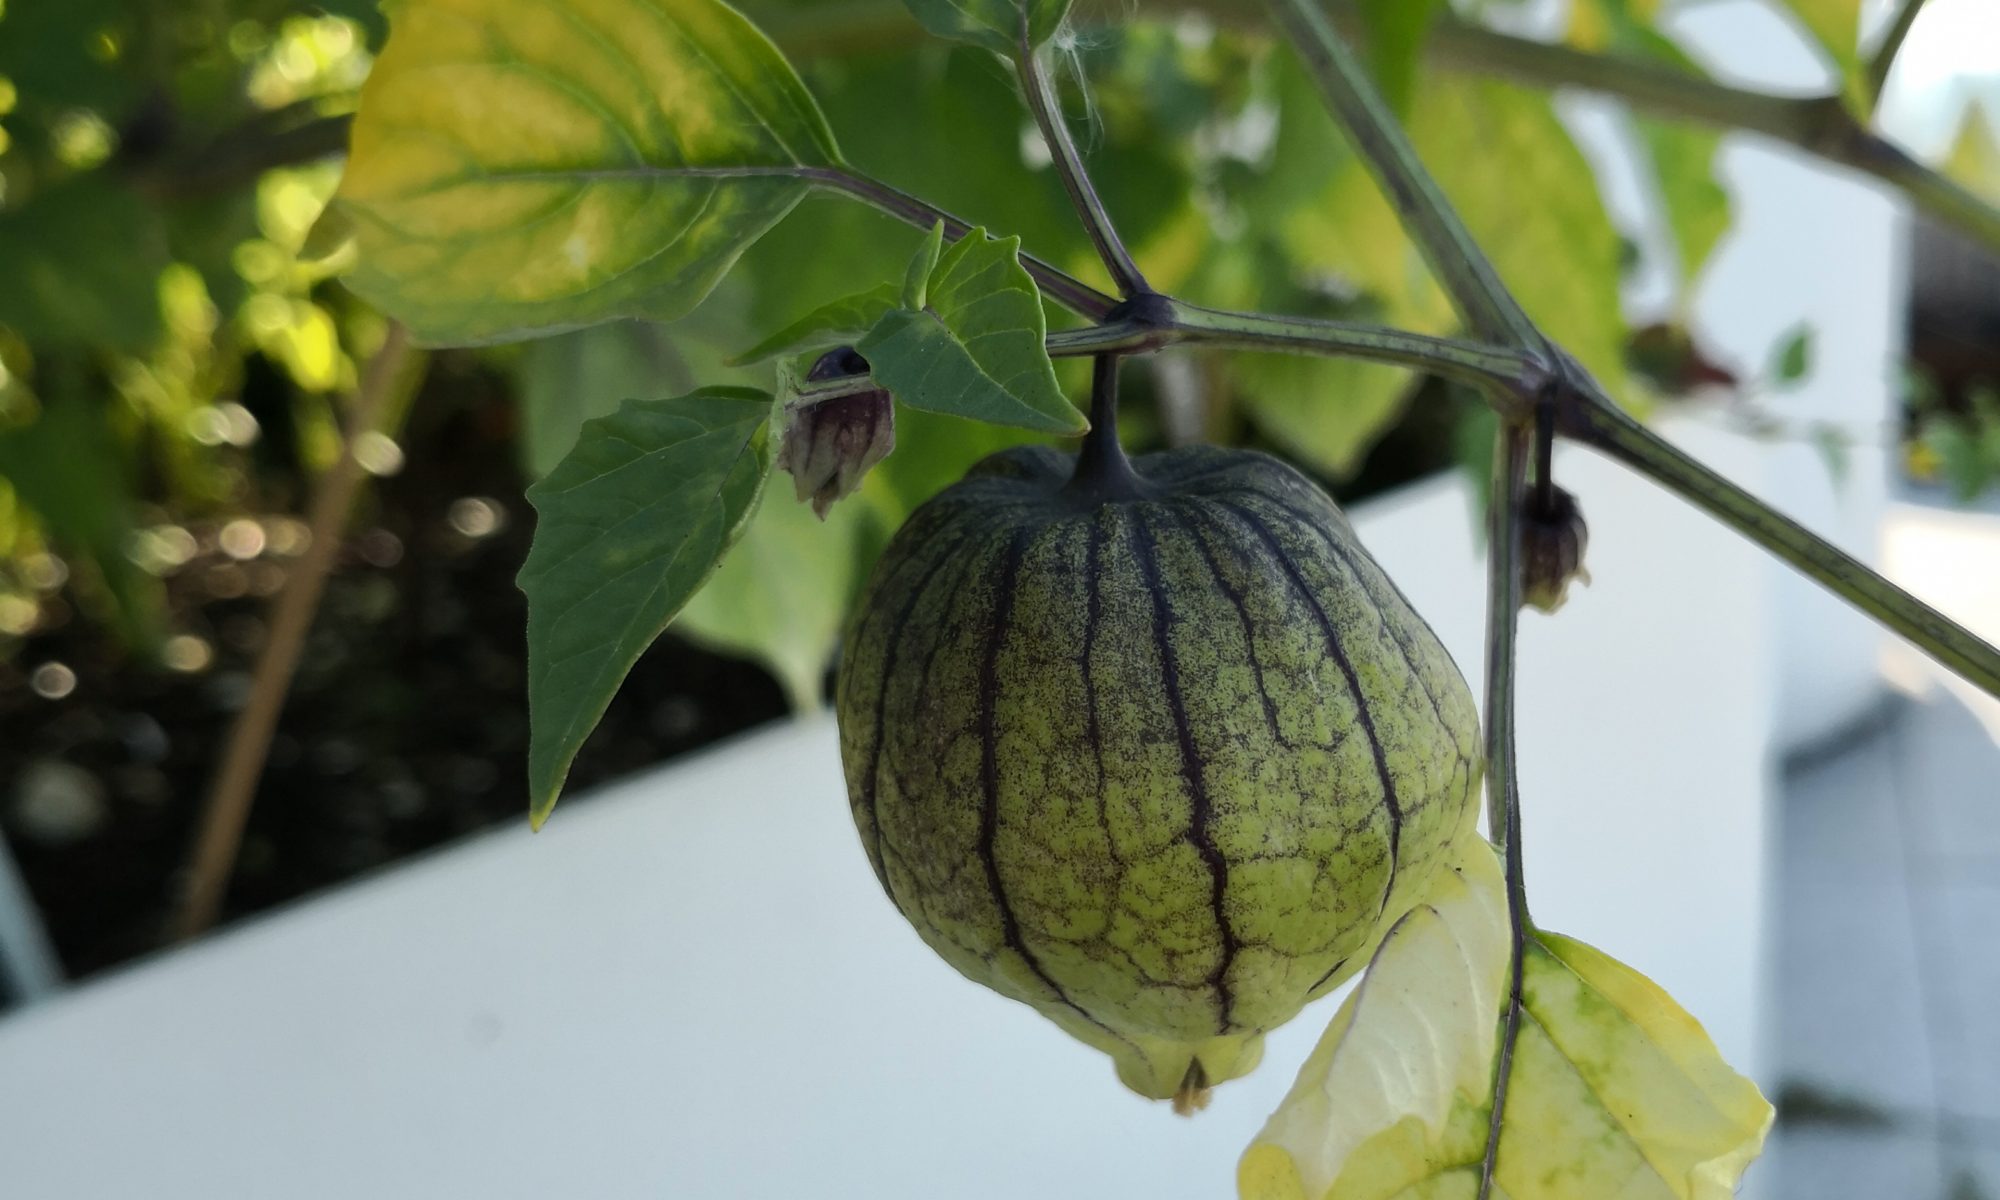
For those not aware, salsa verde is, as it’s name would suggest, the base for the green salsa you often see at Mexican restaurants. The fruit itself is related to tomatoes, though smaller, and surrounded in a papery husk like the orange chinese lantern plants you see for sale around Halloween. In fact, the two are related.

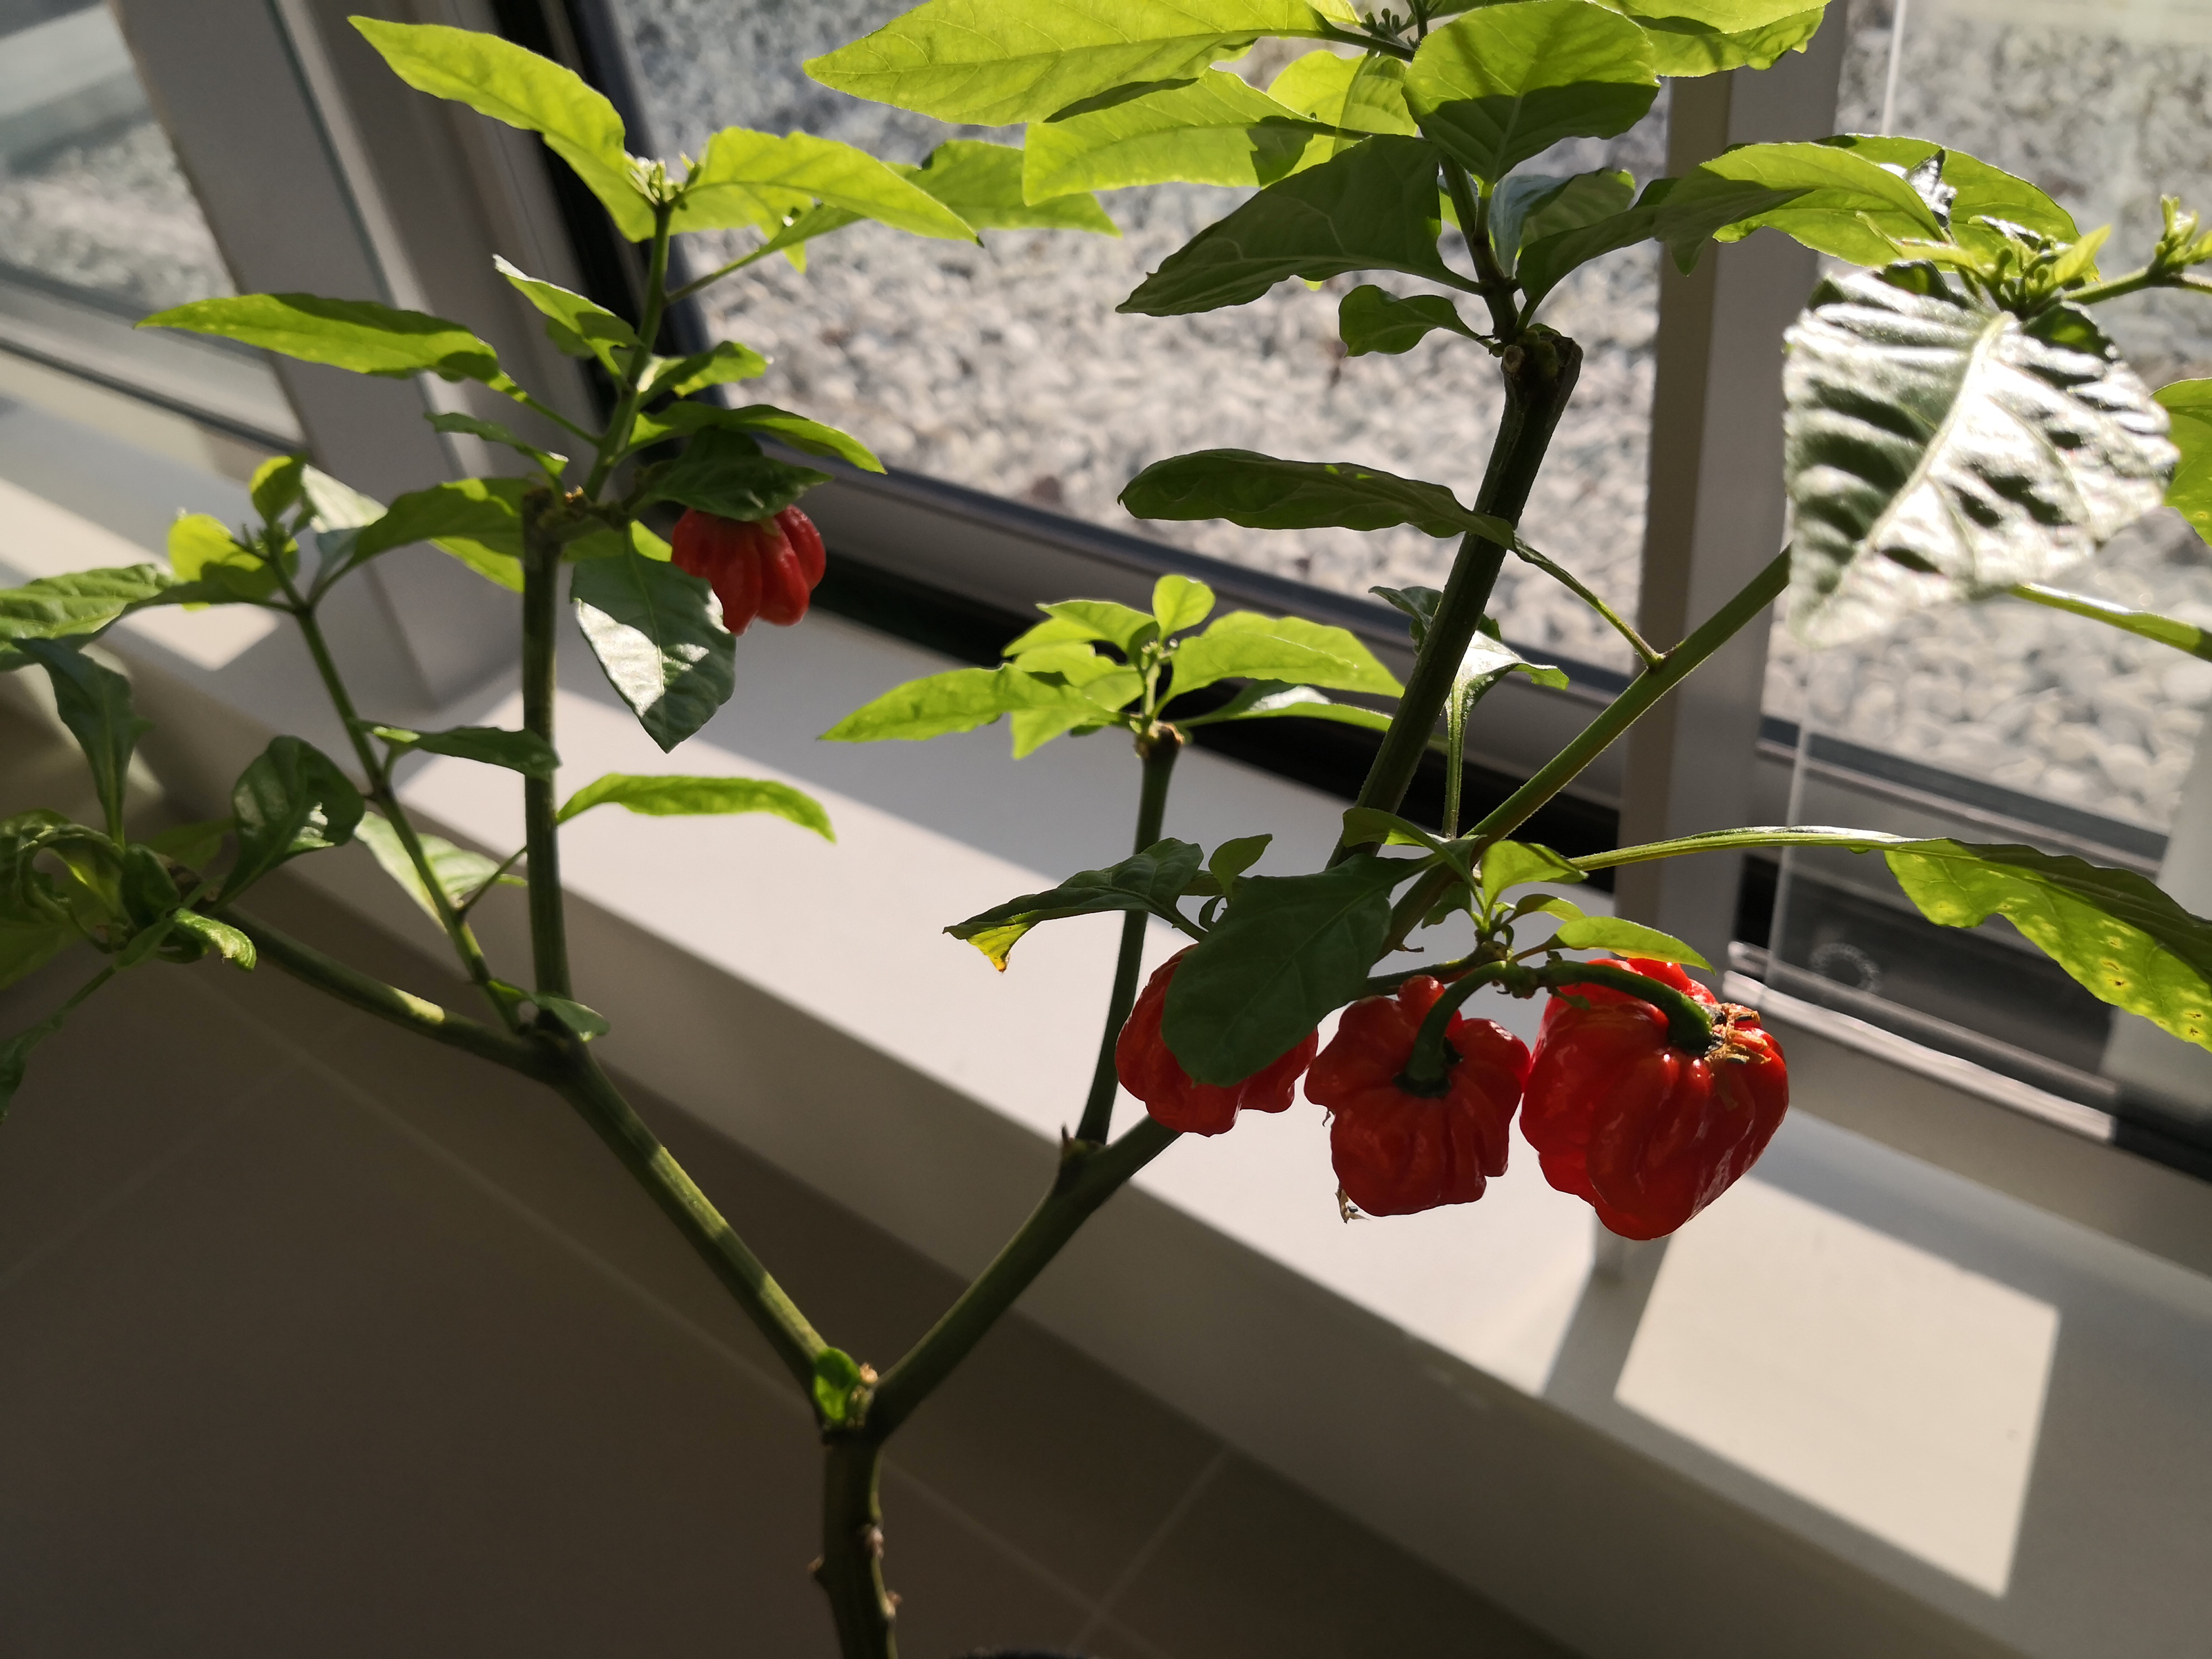
Tomatillos are firm, with a texture that reminds me of watermelon (vs tomatoes), with seeds much smaller than those found in a tomato. I’ve grown both all-green varieties, as well as some that start green and color up to purple as they mature. Flavor-wise I find them to be tart and not very appealing raw.

The plants themselves are fast growing and tall. As such they require staking, or a tomato cage to deal with winds, especially on a rooftop. To be honest, the staking & cage is probably a smart move regardless as the abundance of fruit can lead to branches breaking. I’ve found them to be reliably upright, with the exception of the occasional long branch that makes a horizontal run. Again, in my experience this has been driven by fruit load more than natural growth.

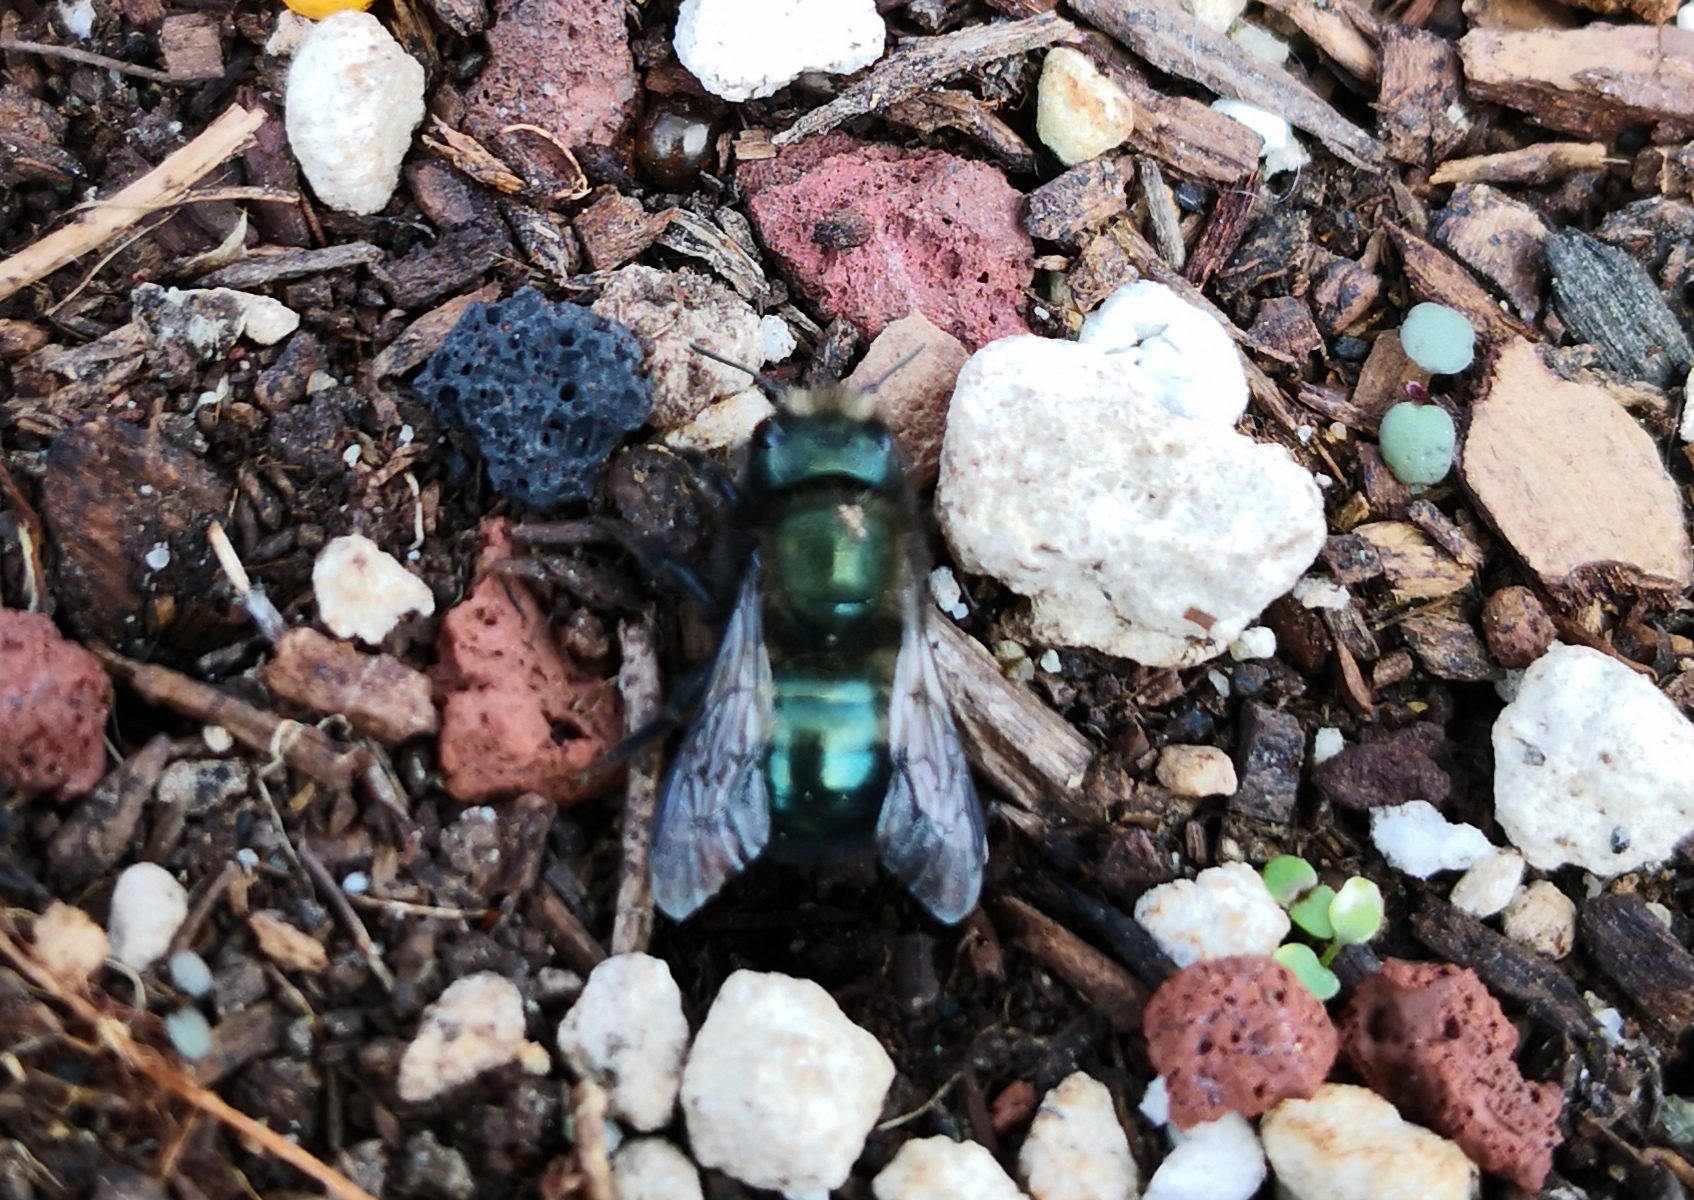
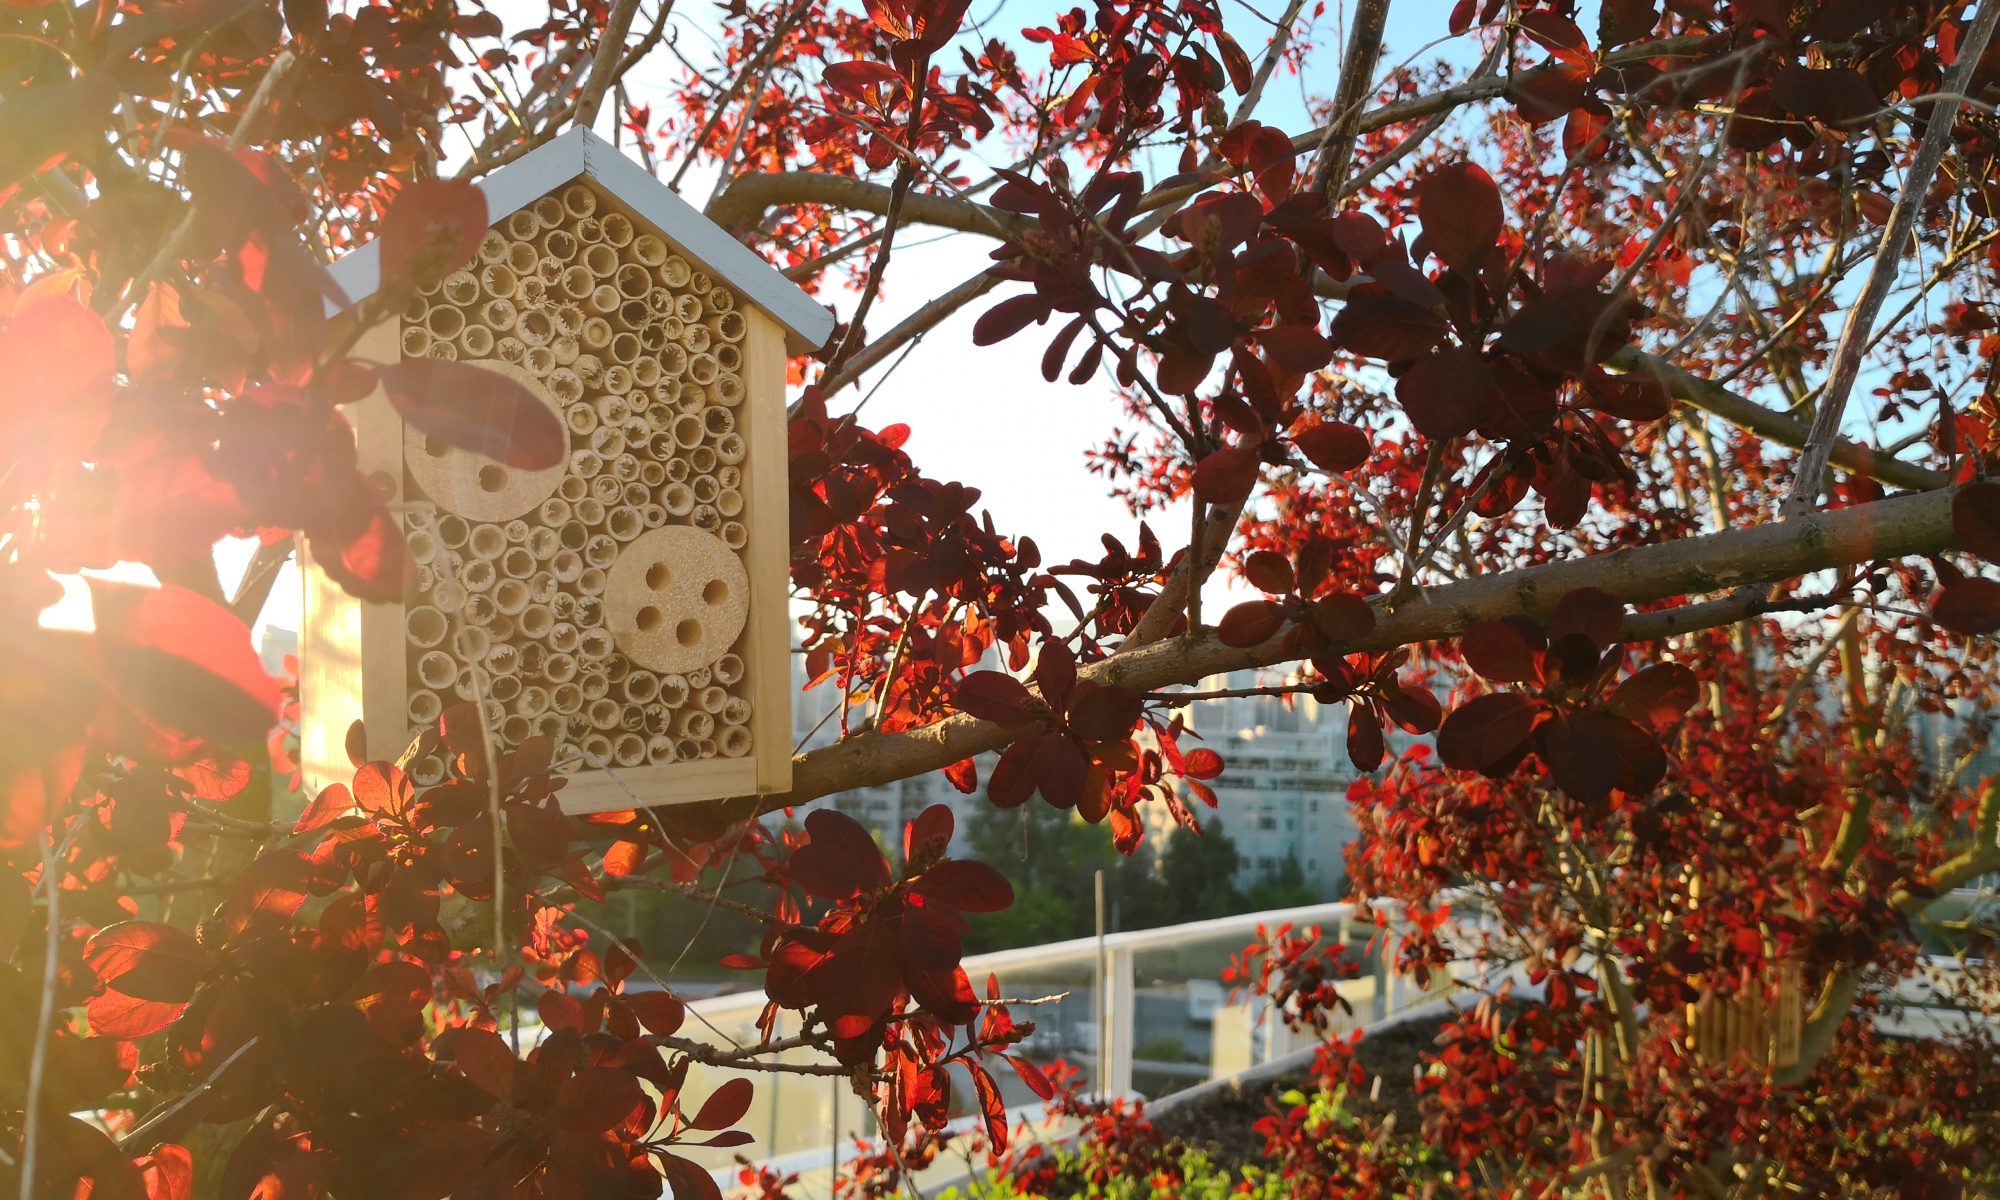
Tomatillos are quite thirsty. This may reflect the poor quality and quick-draining ‘soil’ we have, but regardless in the peak of the summer we watered regularly and deeply. The roots seem to anchor the plants well and I don’t recall any having been uprooted before their time. The stems are not woody, but they are robust. One word of caution is to ensure that whatever method is used to stake the plants does allows for adjustment as the stem and branches grow. Flowers are small and yellow with black patterns and the bees seem to love them. Husk develop first with the fruit trailing and eventually filling the available space. Ripe fruit are easy to identify as they fill the husk to the point of tearing.

Picking is straightforward, though the fruit inside the husk is sticky and will need to be washed before eating. If the husk hasn’t torn, the fruit can be kept for some time before using them. Personally, I harvest in batches and either blend with peppers etc for salsa, or I clean, chop and freeze for use in winter chili.

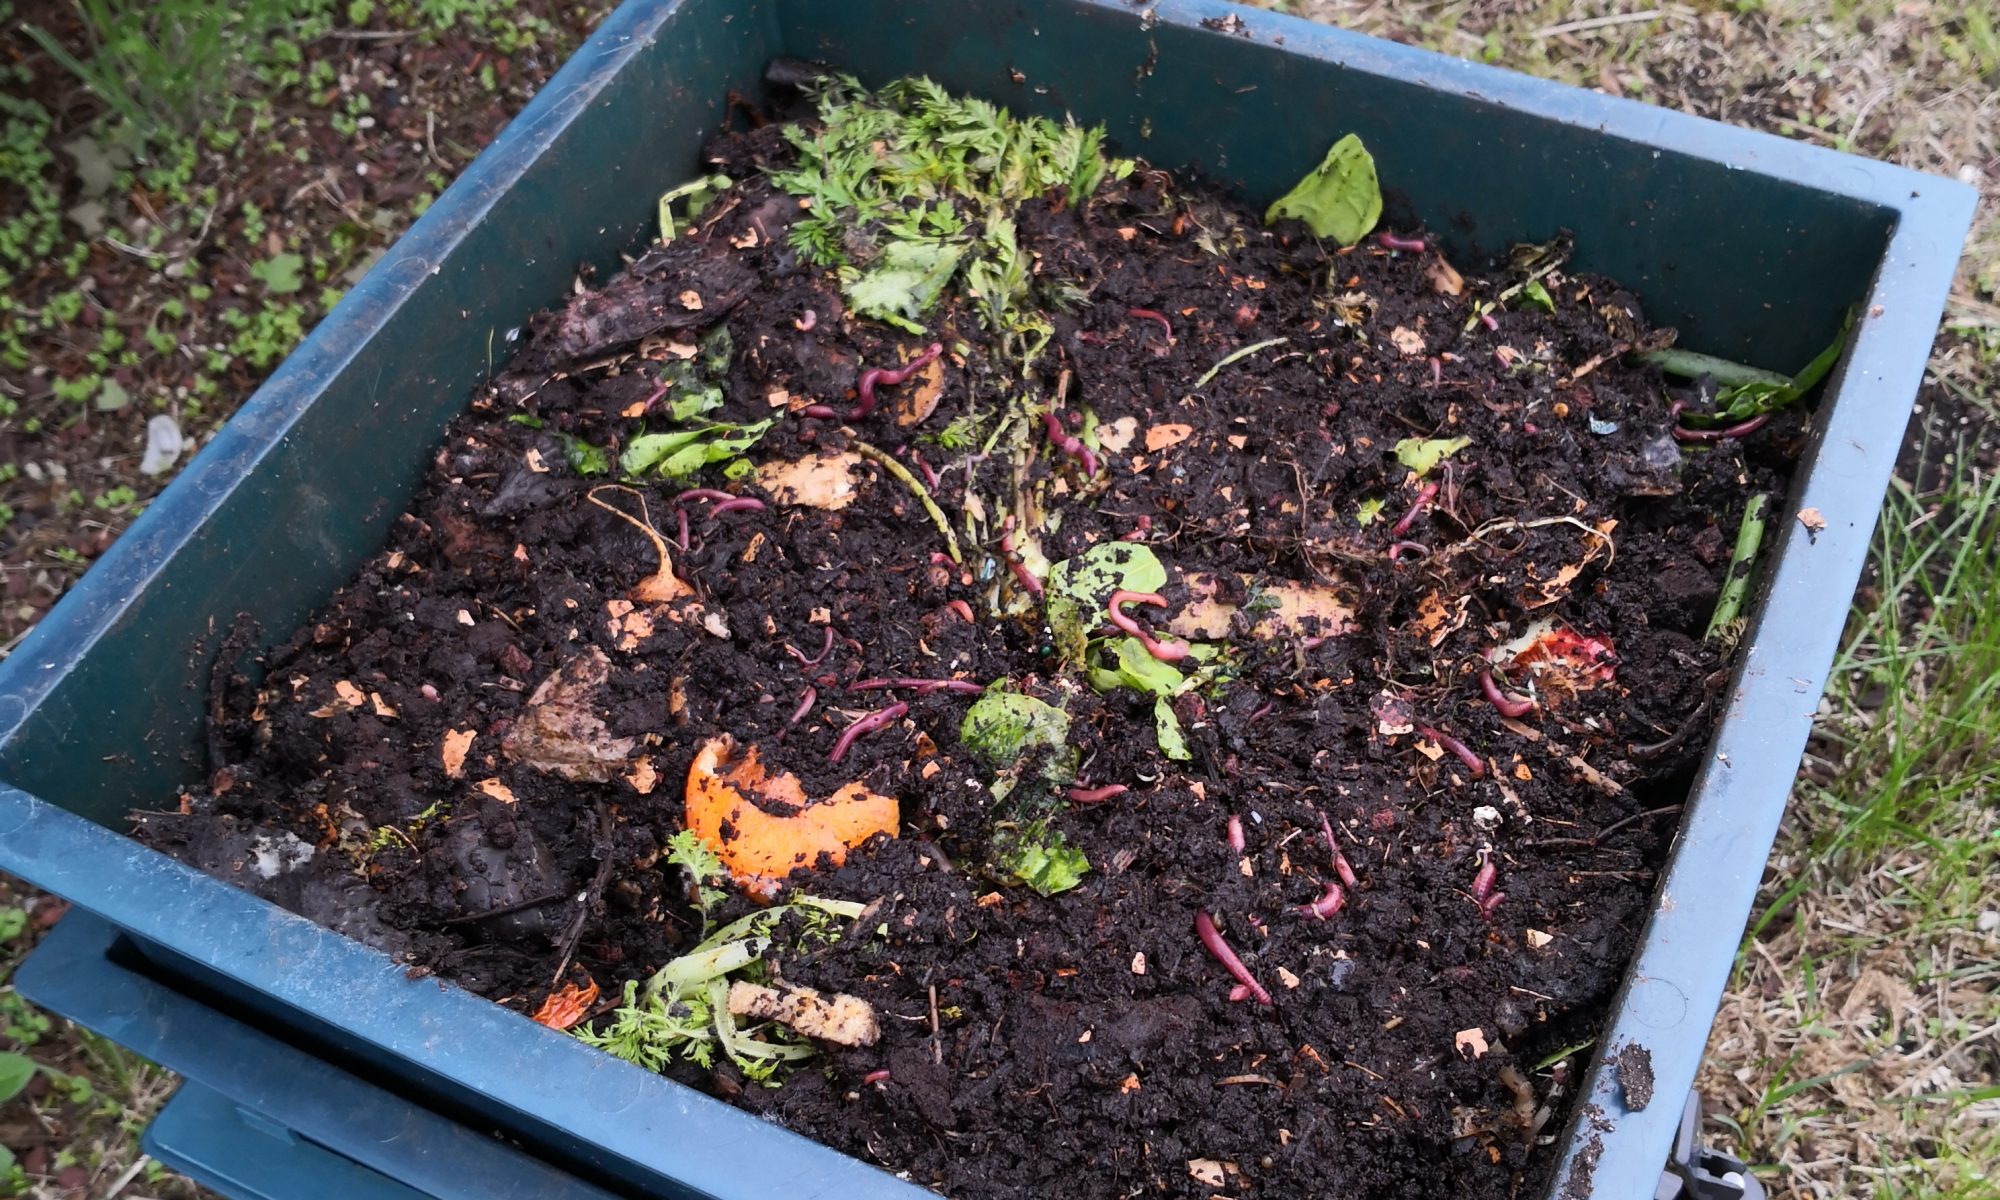
Each fall I take the plants, remove any remaining underdeveloped fruit and deposit them in the compost bin, then chop the plants and dig them into the soil. By spring they’re gone. will self seed the following spring to the point that I’m contemplating not purchasing seeds or starts this year, and just transplanting the eventual seedlings into orderly rows.

Buy tomatillo seeds – US

Buy tomatillo seeds – Canada

The Problem With Pollinators – Early Flowering Plants And Missing Bee Population

Mason bee home suspended in a tree - Vancouver, BC

Buy Mason Bee houses and refill tubes – US

Buy Mason Bee houses and refill tubes – Canada

What’s the problem with pollinators? There aren’t enough of them… and they sleep in.

My second year, I added berry bushes to the roof, and added to the count this past season. What I found is that the berries bud and flower much sooner than vegetables in this climate, and apparently much sooner than bumblebees and honeybees surface to help with pollination. As a result, I’ve had very limited fruit production, though this past year I was able to get some improvement by manually making the effort.

The fruit in question are:

  • Gooseberries (european): 2 bushes
  • Blueberries: 2 bushes
  • Currants: 3 plants

Growing blueberries, gooseberries and currants – Amazon.ca

I don’t know if the issue is that local pollinators aren’t emerging at the same time, or whether the location, and relatively limited flower options means they don’t visit until blooms are more abundant. Regardless, it’s a problem that I’m trying to deal with on a couple levels in 2019.

First, I scattered wildflower seeds in some beds reserved for non-edibles in hopes that they will emerge and flower to provide additional options for any pollinators that do emerge and visit early in the year.

Second, I’ve purchased a number of solitary bee homes and will be seeding them with mason bees in March, in hopes that the early-emerging mason bees will bridge the time between early flower emergence and the arrival of the pollinators that service the broader pool of fruit and vegetable plants.

If anyone has other ideas I’m all ears, as I’d like nothing more than to have bushes loaded with berries through the spring/summer of 2019.

Rooftop Vegetables and Protection from High Winds

Links to burlap and weed barrier fabrics – US

Links to burlap and weed barrier fabrics – Canada

One topic I wasn’t prepared for during year one was the increased impact of wind on the garden. Ground-level gardens benefit from natural barriers in the form of trees, buildings, hedges and the like. On the roof, most of these aren’t present, and in our case winds from the west are uninterrupted as far as the eye can see. The implications?

  • Risk of toppling for any non-woody plants.
  • Lower ambient and soil temperatures due to the cooling effects of wind.
  • Arrival of foreign seeds from who-knows-where.

Risk of toppling non-woody plants. This issue became clear almost immediately as after transferring seedlings to the outdoor beds. Despite having staked them, the first windy day saw them lashed about their stakes to the point of death. Over time I’ve come to realize the obvious danger to young plants, but that this extends also to larger plants later in the year as well. A number of large tomatillo plants found themselves significantly damaged as a late summer wind caught the row and toppled those poorly staked, and even snapped some of the stakes themselves.

We’re still testing, however we’ve found the following to work:

  • Choose locations with wind & temperature consideration in mind when planning your garden. For example, our pepper plants are now bordered by a protective glass barrier (conveniently already present on the roof) which both limits wind exposure and allows light through to heat the soil.
  • Stake all plants, large and small. We used bamboo of various lengths and diameters, affixed with twist ties which required adjustment as the plants matured in order to avoid impairing growth. Note that we affixed both stems, and branches where necessary, and revised placement of supports through the season to provide adequate support and protection.
  • Protect the most exposed areas with additional barriers. For some beds the exposure was just too great for anything other than strawberries, or low herbs like thyme, or woody plants. Here we affixed supports to the beds themselves and used strips of burlap to break the wind. This worked well to block the wind, however I think it was too effective and may have lead to powdery mildew on some plants as they dried more slowly after rain, and there was limited circulation. This burlap on Amazon (here’s a link in you’re in Canada) comes in narrower sheets which should allow introduction of gaps which should help with circulation.

Lower ambient, and soil temperatures. This one’s pretty straightforward, but cool wind will cool plants, so constant wind will bring down the temperature around the plants, and of the soil itself. My guess is that this will be more of an issue for plants like peppers, but I could be wrong. This year I’ll be trying black plastic sheeting (link for those in Canada) on the soil prior to seeding, and then retaining it around the plants to raise temperature for those plants that need it.

Arrival of foreign seeds. This one I hadn’t considered, but it quickly became evident. Each spring we see the evidence as weeds of all types start to sprout in our planters, and each year we see new varieties showing up. Some of these may arrive with birds (a particularly irritating example being climbing nightshade which has taken root in the far corner of a non-cultivated, and hard-to-access planter… right at the precarious edge of the roof), but I’m completely convinced that many are brought on the wind and deposited randomly.

These challenges aside, I do think the plants benefit from the additional circulation afforded on the roof, especially given I tend to plant more densely than recommended given the limited square footage.

Good luck!

Dealing with Pests – Cabbage Aphids (aka how I lost to cabbage aphids)

For each of the past three years I’ve planted Kale. It’s supposed to be super easy to grow, and it’s supposed to produce like crazy. Mine did… but I’m not growing Kale next year. Every bloody year I’ve become plagued by cabbage aphids, and I’ve failed repeatedly at fending them off, so this year I’m done with Kale (and cabbage, brussels sprouts and all manner of related greens).

I tried ladybugs. Released them in the garden in close proximity to these grey monstrosities, but they must find them as vile as I do because I have yet to see a ladybug feed on a cabbage aphid. Other aphids? Absolutely. The ladybugs gorged when my cape gooseberries were attacked… but not the grey ones.

I tried soapy water. It seemed to work at first, but the whole “make sure you get into all the crevices” thing meant it was doomed to failure. I’m mad lazy, and kale is nothing but crevices. Strike two.

I tried quick blasts of water. Guess what? They came back. Remember those crevices? We’ll in my experience you can’t get quick blasts of water into all the crevices without doing material damage to the plant. Maybe the water pressure was higher than it needed to be, I don’t know, but fool me once… Also, I’m gardening on a roof, so I don’t honor the whole ‘recommended spacing’ thing, which means a blast of water on plant A means a free trip to plant B. It may be that the mouth parts are ripped off etc, but I don’t like kale enough to risk it again this year.

You won this round cabbage aphids… and I’m not stepping in the ring again given how I value the reward at stake.

Winter Cover Crops. Clover, Rye Grass and Winter Peas

Steer and sheep manure.

The soil selected for our rooftop containers is miserable. I’m guessing this is to limit weight as the “soil” looks to be about 25% crushed lava rock. Regardless it seems a safe bet that its not much good for growing. Rather than haul a ton of sand up to the roof we decided to pursue other approaches.

  • Fertilizer & Bone Meal
  • Compost
  • Cow & Sheep Manure
  • Winter Cover Crop

Fertilizer & Bone Meal. Starting with fertilizer & bone meal, we’ve used it, but we’ve used very little of it. Generally just something added at the start of the year. The main reason we haven’t used it much is cost. No question it works… but it costs, and I’m cheap.

Compost. We’ve got a worm composter set up and churning through kitchen scraps on the roof. We try as much as possible to keep any remnants of meat or cheese out of the mix, and over-index on fruits, vegetables and egg shells. Further, over the winter while the worms are in slow motion I’ve been blending fruits, vegetable and egg shell scraps and digging them into the soil. Does it work? Who knows… but it doesn’t seem to hurt.

Cow & Sheep Manure. This one’s pretty simple. I buy several bags each year and dig it into the soil in our planters before planting seeds and starts.

Winter Cover Crops. These are a new approach starting last winter. I went with winter peas and rye grass… and it worked great. Let it grow over the winter, and in the spring cut it and dig it under. It seems to compost pretty quickly, and the legumes fix nitrogen for the season’s crop. My one learning from the first year is to start the seeds before winter arrives, so they have a chance to get to a decent size before the cold weather stalls them. This year I decided to repeat the winter peas and rye grass, but also added some crimson clover. Wish me luck.

Aaaand, that’s it. At least that’s it for our roof thus far.

The Super-Hots: Trinidad Moruga Scorpion Indoors

Indoor Trinidad Moruga Scorpions

Most of our super-hots were grown outdoors on the roof (as one might expect given the title of this site), however we did keep two inside in our south-facing solarium. Both Trinidad Moruga Scorpions, the peppers grew well indoors, producing peppers, though not nearly as well as the top outdoor plants. At season’s end we noticed aphids on both plants and so pruned them back to just the major stems, sprayed them down with insecticidal soap (Buy in US or Canada) and tried to start again.

It appears we were successful.

Despite it being December in gray, rainy Vancouver we currently have two healthy Trinidad Moruga Scorpion plants. One with 4 nearly mature peppers colored and waiting to cause pain. Both plants have new flowers forming as well, promising additional harvests through the winter.

We did not use grow lights of any sort, though during the day the room is kept slightly warmer than the rest of the home. I will admit that I do have a grow lamp at the ready should it be needed, however I’ve been able to keep it in storage thus far. Other than that, no special treatment. Plants are watered regularly (with water from a nearby aquarium) and that’s about it. So… give it a try and you could find yourself in peppers through the year with little extra effort.